
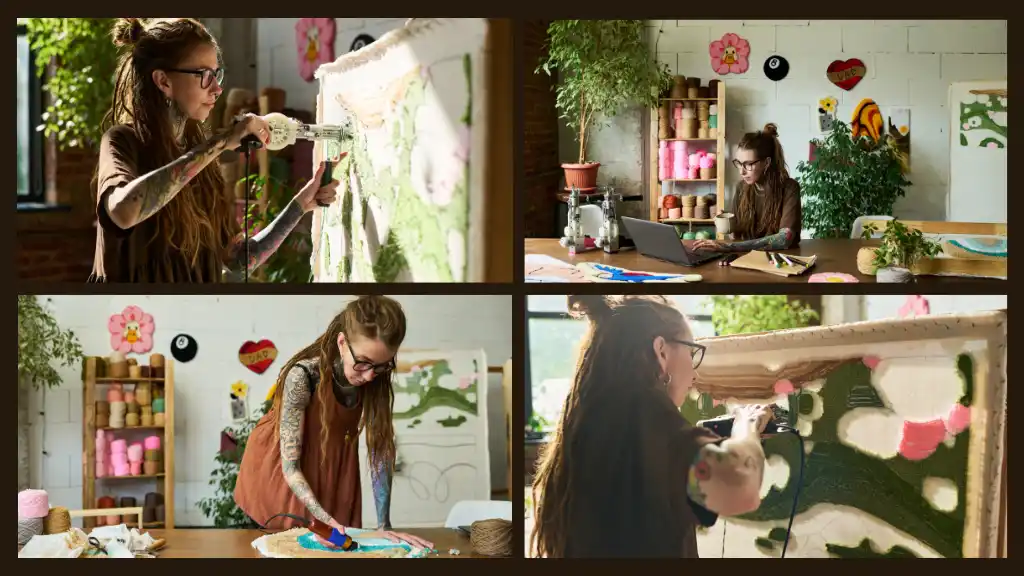
What is Rug Tufting?
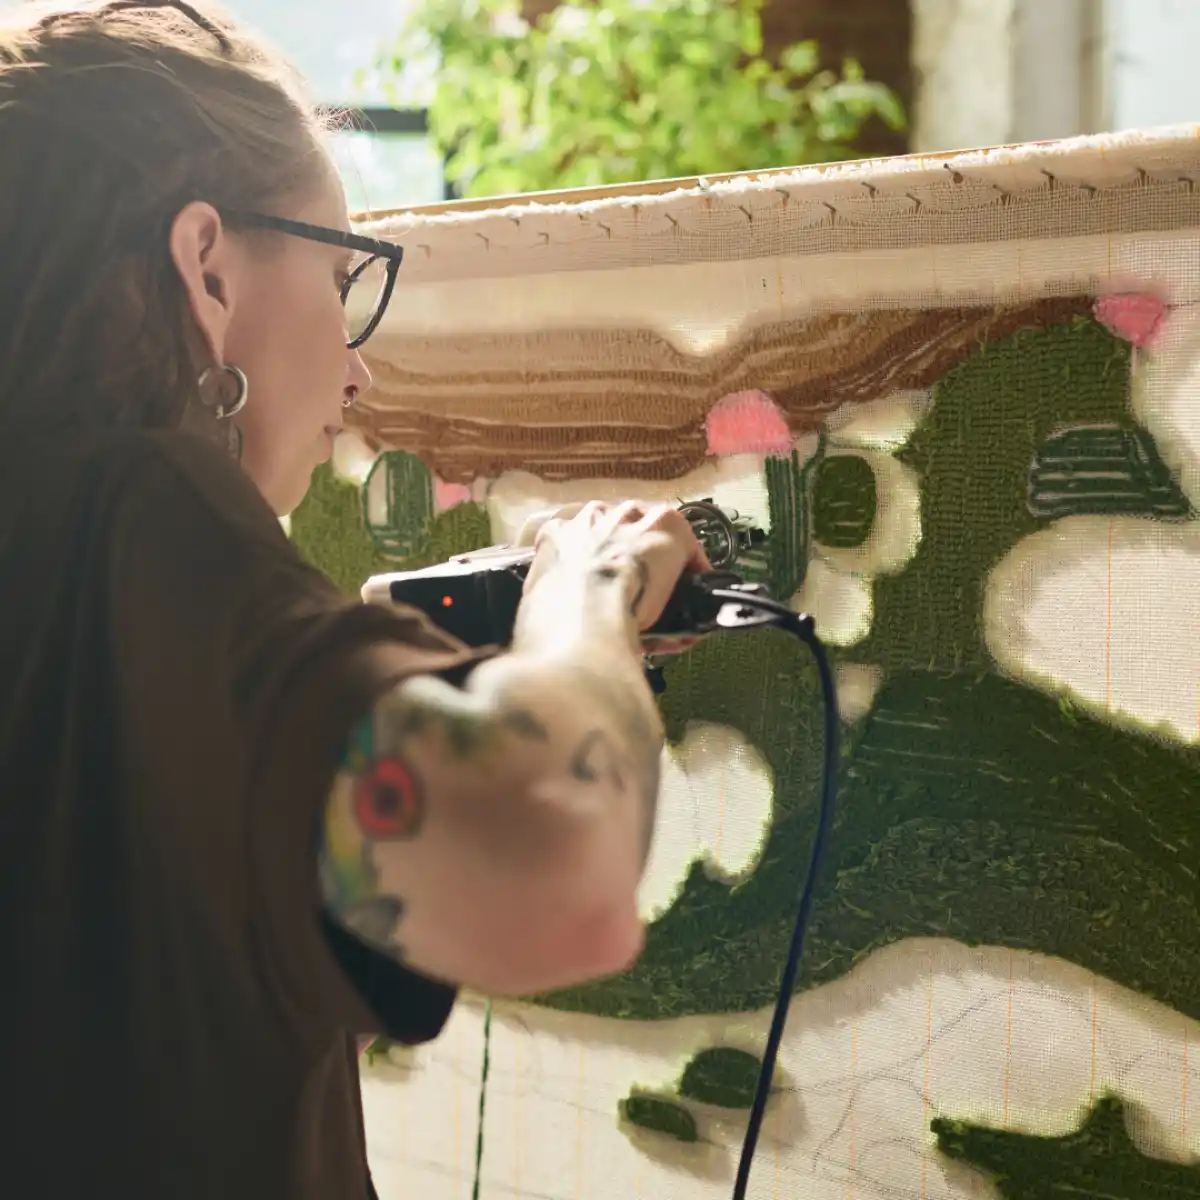
Rug tufting is a method of making rugs by pushing yarn through fabric using a tufting gun.
It allows you to create custom designs quickly compared to traditional rug making techniques.
This beginner’s guide to rug tufting will show you how to create your first rug step by step, even if you’re starting from zero.
In this guide, you’ll learn the step-by-step process, plus the tools, materials, and beginner-friendly patterns that can help you create a cleaner, more even finished rug.
Start Here (Beginner Shortcut)
If this is your first rug, follow this order:
- Download beginner patterns →
- Learn the steps below
- Use the right tools →
- Explore a Beginner Tufting Course →
The 10 Steps to Tufting Your First Rug
Tufting follows a simple order.
If you skip steps or rush the setup, you will see it later:
- skipped stitches
- uneven lines
- messy edges
Start with the foundation first.
Step 1: Choose a Simple Design
Start simple.
Avoid detailed designs on your first rug. Stick to:
- color blocks
- circles
- basic geometric shapes
This helps you focus on control instead of complexity.
Step 2: Frame and Fabric Setup
Getting the fabric tension right is an important part of setting up your tufting frame.
Your frame should be sturdy and secure, and the tufting cloth should be stretched evenly across it. Loose or uneven fabric can make it harder to create consistent tufted lines.
As you work, check the tension and re-stretch the cloth if it begins to loosen.
Compare the Best Tufting Frames for Beginners →
Step 3: Transfer Your Design
Once your tufting cloth is stretched securely on the frame, transfer your design onto the fabric.
You can draw it by hand, trace a template, or use a projector for larger or more detailed designs.
Clear, easy-to-follow outlines will make it easier to stay on track once you start tufting.
Want to See the Tufting Process in Action?
Written instructions are helpful, but seeing the techniques demonstrated can make the process easier to understand, especially when you’re learning how to control the tufting gun and work with yarn.
Fiber artist Trish Andersen teaches the tufting process in a beginner-friendly course covering materials, techniques, and creating a tufted piece.
Step 4: Set Up Your Yarn
Set up your yarn so it can feed smoothly into the tufting gun without snagging or creating unnecessary tension.
Position the yarn so it has a clear path to the gun and can unwind freely as you work. Yarn cones can be convenient for continuous feeding, but the important thing is keeping the yarn from catching, tangling, or pulling against the gun.
Step 5: Start Tufting
Before filling large areas, start by following the main outlines of your design. This gives you clear boundaries to work within as you add each color.
Keep the tufting gun pressed steadily against the fabric and positioned perpendicular to the cloth as you work. Move the gun at a controlled, consistent pace and let the machine move along the fabric rather than forcing it with your wrist.
Practice on a small section first if you’re still getting comfortable with the movement of the tufting gun.
Step 6: Fill in Your Design
Once you’ve tufted the main outlines, begin filling in each section of your design.
Work in consistent rows and try to keep the spacing between your tufted lines even. Avoid packing the lines too tightly or leaving large gaps between them.
Check the front of your rug occasionally as you work. This can help you spot areas that may need a little more coverage before you move on.
Step 7: Trim and Shape
Once the tufting is complete, trim the surface to even out the pile and begin defining the shapes in your design.
You can use scissors or rug-carving clippers to remove uneven fibers and clean up the areas where different colors meet.
Work gradually and avoid removing too much yarn at once. You can always trim a little more as you refine the rug.
Step 8: Apply Glue
Once you’ve finished tufting, apply adhesive to the back of the rug to help secure the yarn in place before adding the final backing.
The type of adhesive you choose can depend on the rug materials and how the finished piece will be used.
Step 9: Add Backing
Once the adhesive has set according to the manufacturer’s instructions, you can add the final backing fabric.
Backing helps cover the tufted surface on the back of the rug and gives the finished piece a cleaner appearance. Cut the backing to fit your rug, attach it securely, and finish the edges neatly.
Take your time around curves and corners so the backing follows the shape of your rug.
Step 10: Final Trim
Finish your rug by giving the surface and edges one final cleanup.
Trim any uneven fibers, refine the edges, and clean up the areas where colors or shapes meet. Look over the entire rug and make small adjustments until the surface and outline look even and finished.
Work slowly during this final pass. Small, careful trims can help give your finished rug a cleaner, more polished appearance.
Best Rug Tufting Patterns for Beginners
For your first rug, choose a simple design with larger shapes, clean lines, and fewer color changes. This gives you more room to practice controlling the tufting gun without having to navigate tiny details.
The beginner pattern collection includes printable templates, yarn calculations, and beginner-friendly designs.
Essential Rug Tufting Tools for Beginners
You don’t need every tufting accessory when you’re getting started, but you do need a few basic tools and materials to complete your first rug.
The essentials include:
- tufting gun
- sturdy tufting frame
- primary tufting cloth
- yarn
- rug adhesive
- backing fabric
- scissors or rug-carving clippers
Compare the Best Tufting Frames for Beginners →
How Much Does It Cost to Start Rug Tufting?
Your startup cost depends on the tufting gun, frame, yarn, fabric, adhesive, and finishing tools you choose. Building your own frame and starting with basic supplies can help keep your initial costs lower, while larger frames and additional finishing equipment will increase the investment.
See my complete tufting equipment list on Amazon to compare prices →
Want to Turn Rug Tufting Into a Business?
Once you’ve practiced the tufting process and can consistently create well-finished rugs, you may want to explore selling your work.
Before you start, it’s worth thinking about material costs, pricing, production time, and how you’ll market your finished rugs.
Final Tips for Your First Tufted Rug
Your first rug is a chance to get comfortable with the entire tufting process. Instead of worrying about making every detail perfect, focus on improving your control and technique as you work.
Pay particular attention to consistent fabric tension, even spacing between tufted lines, and careful finishing.
Start with a simple design, take your time through each step, and use what you learn on your first rug to make the next one even better.