
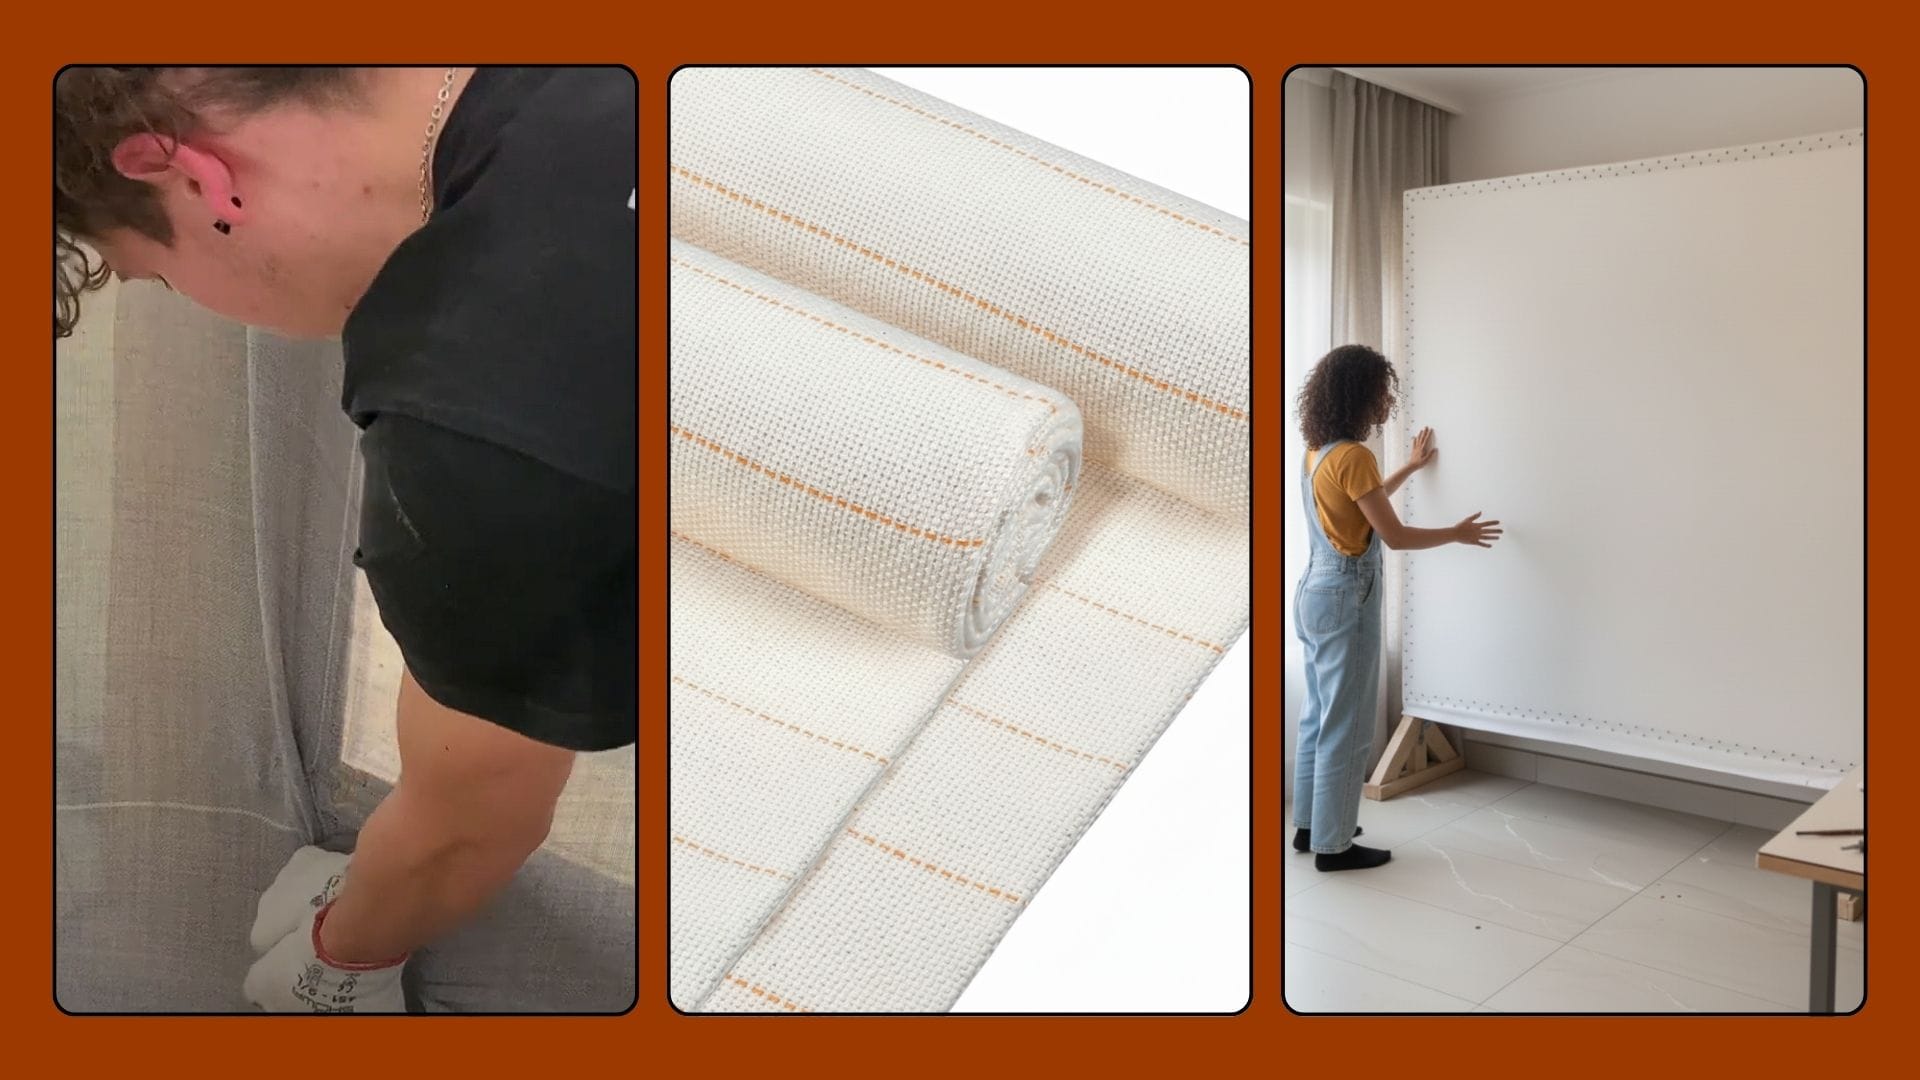
Stretching fabric on a tufting frame is essential for creating professional-quality rugs with straight lines and consistent tension.
Properly stretched fabric ensures your tufting patterns remain even, prevents puckering, and reduces mistakes.
This guide walks you through a precise three-step method used by experienced tufters, whether you are using aluminum frames, wooden frames, or DIY setups.
Why Proper Fabric Tension Matters
A loosely stretched tufting cloth can lead to uneven stitches, distorted designs, and wasted yarn.
Beginners often struggle with crooked lines, especially when working on geometric or intricate patterns.
Using simple techniques such as yarn guides and center-to-corner tensioning allows you to achieve professional results even on a small tabletop frame.
Step 1: Initial Placement
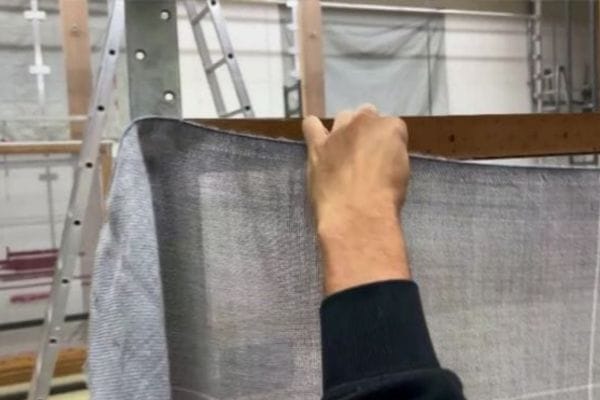
Begin by roughly positioning the cloth on your frame without applying high tension.
- Center the Fabric: Ensure there is enough excess fabric on all four sides. This allows you to pull evenly later.
- Temporary Fix: Use a few temporary staples or tacks just to hold the cloth loosely in place. Avoid pulling too tight at this stage.
This step prevents skewing as you move into final stretching.
Step 2: Creating Visual Guidelines
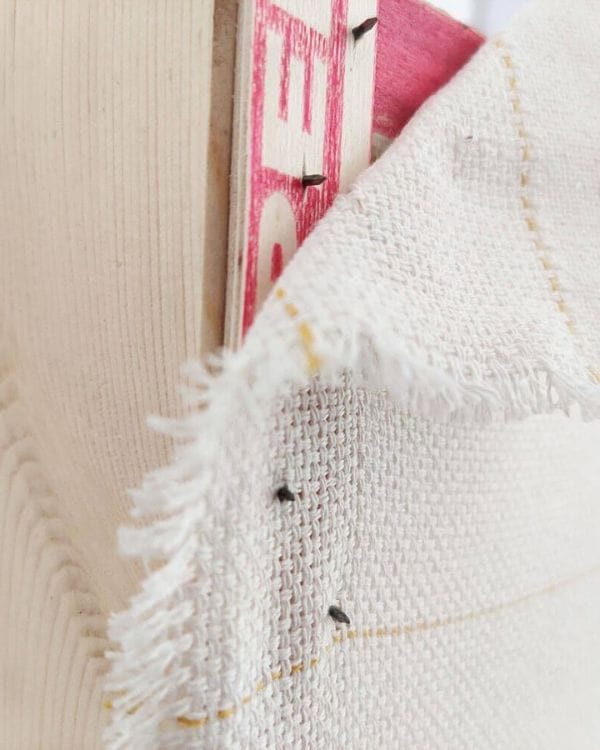
Professional tufters use yarn threads to create visible guides for straight, aligned fabric.
- Pull a Yarn Thread: Near each corner, gently pull a single piece of yarn along the weave to create a straight line.
- Four Guides: Repeat this for top, bottom, left, and right. These lines act as reference points when stretching fabric on a tufting frame.
- Alignment Check: These visible guides ensure you’re not pulling diagonally or causing wrinkles in critical areas.
This method is especially helpful for beginners working on detailed geometric patterns or letters.
Step 3: Final Stretching and Securing
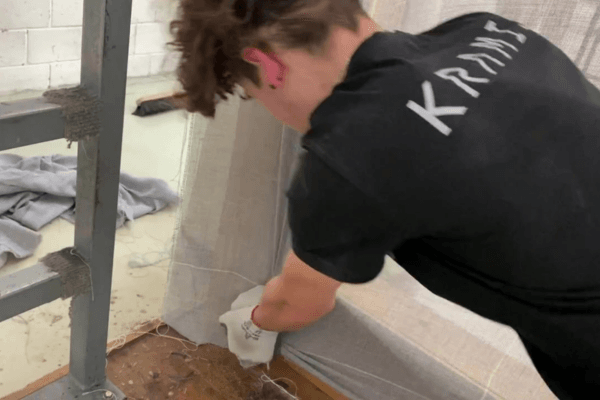
Once your guides are set, you can apply final tension.
- Work from the Center: Start at the middle of one side and staple firmly. Stretch outward toward the corners gradually.
- Opposite Side Pattern: Move to the opposite side and repeat. Continue with the remaining two sides.
- Drum Test: Aim for tension similar to a drum skin — firm and even, but not so tight that your weave becomes distorted.
- Reinforce Corners: Corners carry the most tension. Add extra staples to secure these points.
Alternative tools like carpet tack strips or clamps can hold the fabric without staples. The key is consistent tension across the entire surface.
For more details, watch the full tutorial on stretching fabric correctly: Step-by-Step Tufting Fabric Video.
Pro Tips
- Always check your alignment after each side is stretched.
- Avoid stretching one corner too much before the others.
- Use gloves if needed to protect your hands when pulling heavy-duty fabric.
- For beginners, practice on smaller frames before moving to larger setups.
Troubleshooting Common Issues When Stretching Fabric on a Tufting Frame
- Fabric Loosens During Tufting: Re-check corner staples and add additional tacks.
- Uneven Tension: Ensure you’re using the yarn guide method before final stretching.
- Wrinkles or Puckers: Remove excess tension, flatten the area, and re-staple incrementally.
Recommended Setups
This method works for:
- Small tabletop frames (ideal for beginners)
- Medium aluminum frames for consistent tension across larger rugs
- DIY or budget frames with tack strips for stability
For a full overview of tufting tools and recommended frames, see the complete guide to tufting frames and setups.
Tools That Make Stretching Fabric On A Tufting Frame Easier
You can stretch fabric manually, but tools make a big difference.
- Staple gun, used to secure fabric during stretching
- Carpet tack strips, allow re-stretching and stronger grip
- Tufting pliers (canvas stretching tool), gives better grip and pulling power
For a full setup, see:
→ Complete tufting tools guide
Maintaining Tension During Tufting
- Check and adjust fabric periodically
- Use additional clamps or weights for long sessions
- Keep a mallet handy for minor adjustments
Stretching Fabric on a Tufting Frame: Step-by-Step Guide for Beginners
Start with a small to medium frame, such as 24×24″ or 27.5” tabletop. These allow manageable tension and easy practice with patterns. See my recommended tufting frame for beginners →
Yes. Staples work well for temporary setups. Carpet tack strips offer a permanent, more stable solution for long-term use.
The tension should be drum-tight but not so extreme that the weave guides distort. Tap the fabric—it should resonate slightly like a drum.
Yarn guides are highly recommended for geometric, text, or striped patterns. They help maintain straight, consistent lines.
Absolutely. The three-step method works for all pile types and frame materials.
You can use a complete tufting tools setup for best results. This page links to all recommended frames, tack strips, and stretching tools. Avoid linking directly to Amazon unless you want to track a specific product purchase; linking to your tools page keeps traffic consolidated.