
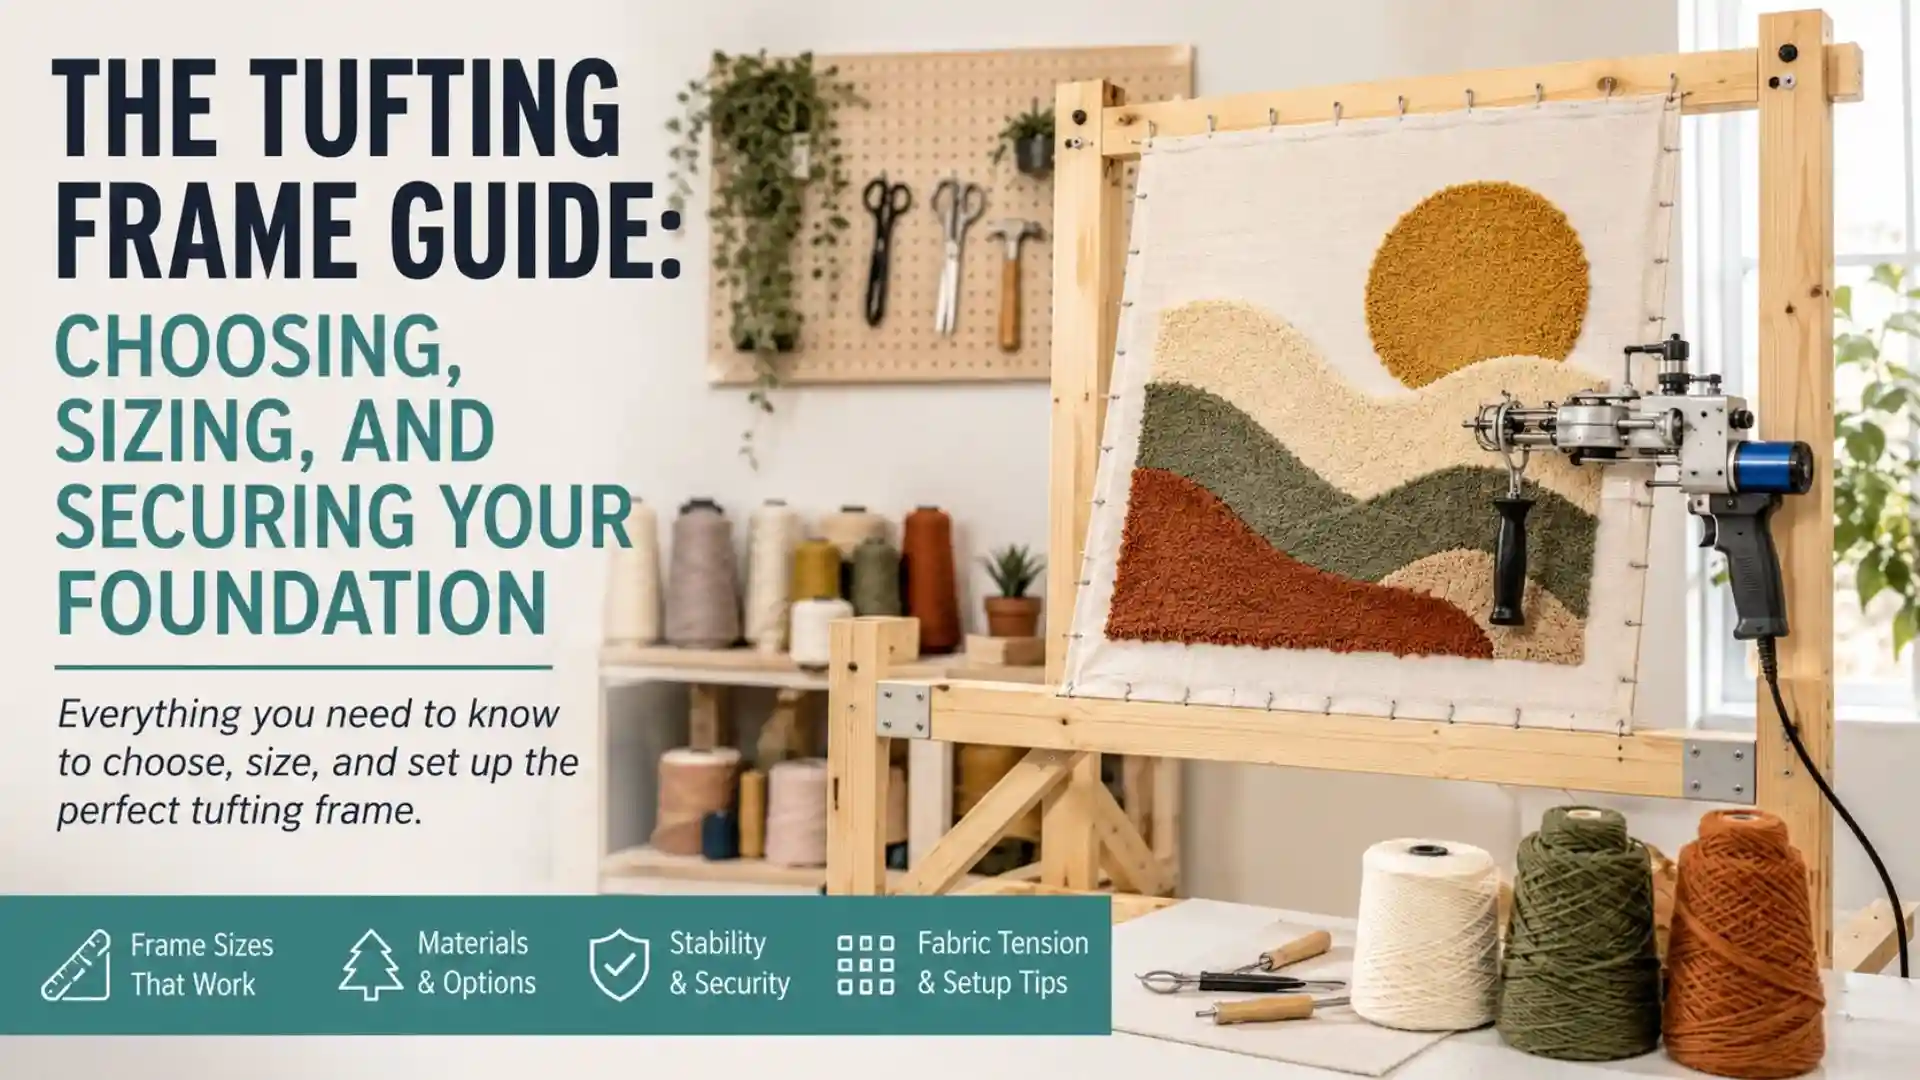
If you are looking for a tufting frame guide to help you choose a frame for rug making, this guide covers frame sizes, materials, stability, fabric tension, and setup considerations. Smaller tabletop frames can be practical for beginner projects, while larger frames provide more working area but may require additional support and workspace.
Quick Start
If you’re new to tufting:
👉 Start with the beginner rug tufting guide →
👉 See the tools you actually need →
👉 Get 3 Free Beginner Tufting Patterns →
I. The Basics: What a Tufting Frame Does
Your tufting frame provides the support needed to keep the primary tufting cloth evenly tensioned while you work. A stable frame and properly stretched cloth make it easier to guide the tufting gun and maintain consistent stitches.
1.1. Fabric Tension and Frame Stability
Proper fabric tension is an important part of tufting. If the cloth becomes too loose while you work, it can make controlling the tufting gun and maintaining consistent stitches more difficult.
Two important features to consider are:
- Frame Stability: The frame should remain stable while the tufting gun is being used.
- Fabric Grip: Tack strips, gripper strips, or another suitable gripping system should hold the primary tufting cloth securely and allow you to adjust the tension when needed.
1.2. Why Frame Stability Matters
A stable frame helps keep the primary tufting cloth consistently tensioned while you work. If the frame shifts, flexes, or becomes loose during tufting, you may need to stop and readjust the cloth or frame before continuing.
Your next decision is whether to build a frame or purchase one:
- DIY Wooden Frames: Building your own frame lets you choose the dimensions and hardware to suit your available workspace and projects.
- Ready-Made Wooden Frames: These can be convenient if you prefer a frame that is already assembled or requires minimal setup.
- Aluminum Frames: These provide another option for tufters who prefer a metal frame or adjustable setup.
👉 See the best tufting tools and materials →
1.3. Your Frame Is Only Part of the Setup
A stable frame provides a good foundation, but your tufting technique and finishing process also affect the final result.
- Fabric tension matters: Check the cloth periodically and readjust it if it begins to loosen.
- Tufting technique matters: Consistent movement and control can help you create more even lines and fills.
- Finishing matters: Trimming, adhesive, backing, and edge finishing all contribute to the appearance and durability of the finished piece.
Learn the full rug tufting process →
1.4. Building Your Own Tufting Frame
Building your own frame lets you choose the size and setup that works for your available space. For lumber cuts, materials, assembly instructions, tack strips, and yarn-guide setup, see my Complete DIY Tufting Frame Blueprint →
See the best tufting frames for beginners →
II. Choosing Lumber for a Wooden Tufting Frame
When building a wooden tufting frame, consider the lumber’s dimensions, straightness, condition, weight, and availability. Choose boards that are reasonably straight and free from significant cracks, warping, or damage that could affect assembly.
Common lumber options include:
- Pine: Widely available and commonly used for DIY projects. It is relatively lightweight and easy to cut and drill.
- Hardwoods: Woods such as oak or maple may also be used, although they are generally heavier and can cost more than common construction lumber.
For the DIY frame blueprint on this site, I use standard 2×4 lumber (approximately 1.5 × 3.5 inches actual dimensions).
III. Tufting Frame Sizes: Choosing the Right Working Area
Choosing a tufting frame size depends on the dimensions of your design, the frame’s usable working area, and the amount of workspace you have available.
Smaller frames can work well for practice pieces and smaller designs, while larger frames give you more room for bigger projects. Keep in mind that the advertised outside dimensions of a frame may not be the same as its usable tufting area.
Allow room around your design: Leave enough space between the design and the frame edges to stretch and re-tension the primary tufting cloth and comfortably operate the tufting gun. The amount of clearance you need will depend on your frame and project.
| Frame Size | Best Suited For | What to Consider |
|---|---|---|
| Small, around 2 × 2 ft | Practice pieces and smaller designs | Check the actual usable tufting area before choosing your pattern size. |
| Medium, around 3 × 3 ft | Medium-sized designs and general projects | Requires more workspace than a small tabletop frame. |
| Large, around 4 × 4 ft | Larger designs or multiple smaller designs | Consider frame stability, bracing, anchoring, and available workspace. |
| Extra Large, 5 × 5 ft or larger | Oversized projects | Larger frames require careful planning for support, stability, and placement. |
See my complete tufting equipment list on Amazon to compare prices →
3.1. Considering a 4 ft × 4 ft Tufting Frame
A 4 ft × 4 ft tufting frame provides considerably more working area than a smaller tabletop frame and can accommodate larger designs or multiple smaller designs, depending on the usable tufting area.
Before building or buying a frame this size, consider how much floor or wall space you have available and how the frame will be supported while you work.
If you’re building the frame from 8-foot lumber, plan your complete cut list before purchasing materials. Remember to account for the frame itself as well as any bracing, legs, yarn-guide components, and material lost during cutting.
3.2. Stability for Larger Tufting Frames
As a tufting frame gets larger, stability becomes increasingly important. Before stretching your primary tufting cloth, check that the frame feels secure and does not shift noticeably when pressure is applied.
Bracing: Diagonal braces or corner gussets can be used to reinforce a wooden frame. The amount and type of bracing needed will depend on the frame’s dimensions and construction.
Support: Larger frames may also benefit from legs, a stand, or another secure support system. If you use an adjustable setup, make sure the frame can be locked securely in position before tufting.
Planning to sell your rugs? Project size can also affect packaging, storage, and shipping, so consider those logistics before choosing a very large working area.
Learn how to start a tufting business →
3.3. Adjustable and Freestanding Tufting Frames
Adjustable and freestanding frames can offer more flexibility in working height and placement than a basic tabletop frame.
When comparing these frames, consider:
- Stability: Does the frame remain secure while you’re tufting?
- Usable working area: How much of the advertised frame size can actually be used for your design?
- Adjustment mechanism: Can the height or position be changed and secured easily?
- Footprint: Will the frame fit comfortably in your available workspace?
- Construction: Look at how the frame, supports, and gripping system are assembled.
Compare my picks for the best tufting frames →
IV. Fabric Grip and Tension Hardware
Your frame needs a gripping system that can hold the primary tufting cloth securely while allowing you to stretch and re-tension it as needed.
Carpet tack strips and specialized gripper strips are common options for wooden tufting frames. Different products can use different pin angles, layouts, and installation methods, so check the manufacturer’s instructions before attaching them to your frame.
Some ready-made frames use clips, clamps, or other gripping systems instead. Whatever system you choose, the important thing is that it holds the cloth evenly and allows you to maintain suitable tension while tufting.
See the best glue for rug tufting beginners →
4.1. Check Fabric Tension as You Work
Even when your primary tufting cloth is stretched securely at the beginning, check the tension periodically as you work. If the cloth begins to loosen, stop and re-tension it before continuing.
The cloth should remain evenly stretched across the working area without obvious loose or sagging sections. Check different areas of the frame rather than relying on tension at just one point.
Safety Around Tack Strips: Tack strips and gripper strips contain sharp points, so handle them carefully during installation and use. When the frame is not in use, cover exposed points with a suitable protective material. Keep the frame away from children and pets, and use appropriate hand and eye protection when installing or adjusting the strips.
How to Stretch Fabric on a Tufting Frame →
V. Securing Your Tufting Frame While You Work
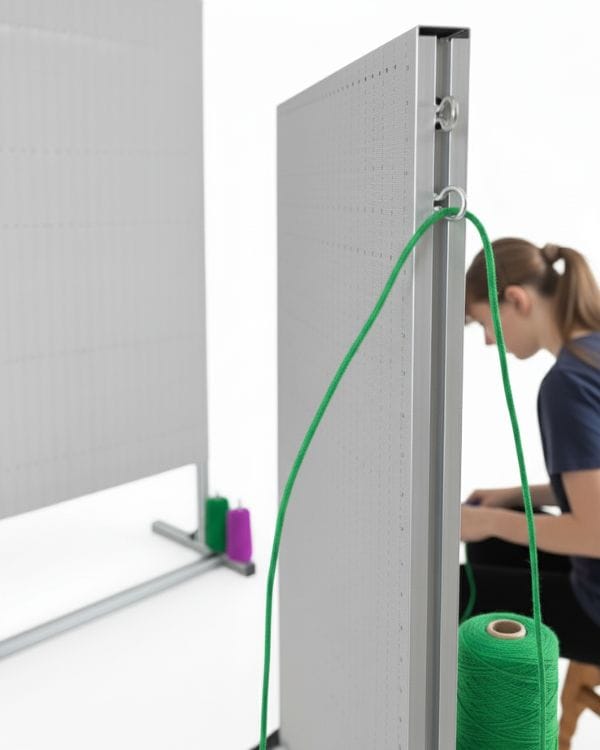
Before you begin tufting, check that the frame is stable and does not shift noticeably when pressure is applied. Tabletop frames are commonly clamped to a sturdy work surface, while freestanding frames should be secured according to their design or the manufacturer’s instructions.
5.1. Simple Yarn Feeding Setup
A yarn guide can help the yarn feed smoothly toward the tufting gun without catching on the frame. A simple DIY setup can be made using a small wooden arm and eye hooks.
Position the eye hooks so they create a clear path from your yarn source toward the tufting gun, then test the setup to make sure the yarn feeds freely before you begin tufting.
If you’re installing eye hooks into a wooden frame, pre-drilling small pilot holes can help reduce the risk of splitting the wood.
VI. Rug Tufting Frame Guide FAQ
Here are answers to common questions about tufting frame sizes, stability, tack strips, and setup.
There isn’t one frame size that works best for every project. A 4 ft × 4 ft frame is one option for larger designs, but the right size depends on your pattern dimensions, available workspace, and the frame’s usable working area. Larger frames may also require additional support or bracing to remain stable while you work.
Beginners can start with my Complete Beginner’s Guide to Rug Tufting, which walks through the process from choosing a design and setting up your frame to tufting, gluing, backing, and finishing your rug.
If you prefer a structured video course, you can also explore Introduction to Tufting: Learn to Paint with Yarn by Trish Andersen.
Start with the Complete Beginner’s Guide →
Learn more about the Trish Andersen tufting course →
Stability can be improved with secure corner joints, appropriate bracing, and a support or anchoring method suited to the size and design of your frame. For larger wooden frames, diagonal braces or corner gussets can help reinforce the structure.
Before stretching your primary tufting cloth, check the frame for noticeable movement and make sure fasteners and supports are secure. If the frame shifts while you’re working, reinforce or secure it before continuing.
Tack-strip and gripper-strip designs can vary, so check the manufacturer’s instructions for the specific product you are using. Position the strips so the pins securely grip the primary tufting cloth as you stretch it across the frame.
Before fastening strips around the entire frame, test a short section to make sure the cloth grips securely and can be stretched and re-tensioned as needed.
Yes. If you manufacture or sell rugs intended for use as floor coverings in the United States, federal flammability requirements may apply. The U.S. Consumer Product Safety Commission regulates the surface flammability of carpets and rugs under 16 CFR Parts 1630 and 1631, with different requirements depending on the size and classification of the rug.
If you plan to sell handmade tufted rugs, review the current CPSC requirements to determine which rules, testing, labeling, and certification requirements apply to your products.
Ready to Build Your Tufting Skills?
New to tufting? Start with my Complete Beginner’s Guide to Rug Tufting for a step-by-step overview of the process.
Prefer a structured video course? You can also explore Introduction to Tufting: Learn to Paint with Yarn by Trish Andersen.
VII. Final Thoughts on Choosing a Tufting Frame
The right tufting frame depends on your project size, available workspace, and whether you prefer to build your own frame or purchase one ready-made.
Whatever style you choose, focus on a few basics: a stable frame, a secure gripping system, enough usable working area for your design, and primary tufting cloth that can be stretched and re-tensioned as needed.
If you want to build your own frame, my DIY guide includes the lumber cuts, materials, assembly steps, tack-strip setup, and yarn-guide instructions.
Build Your Own DIY Tufting Frame →