
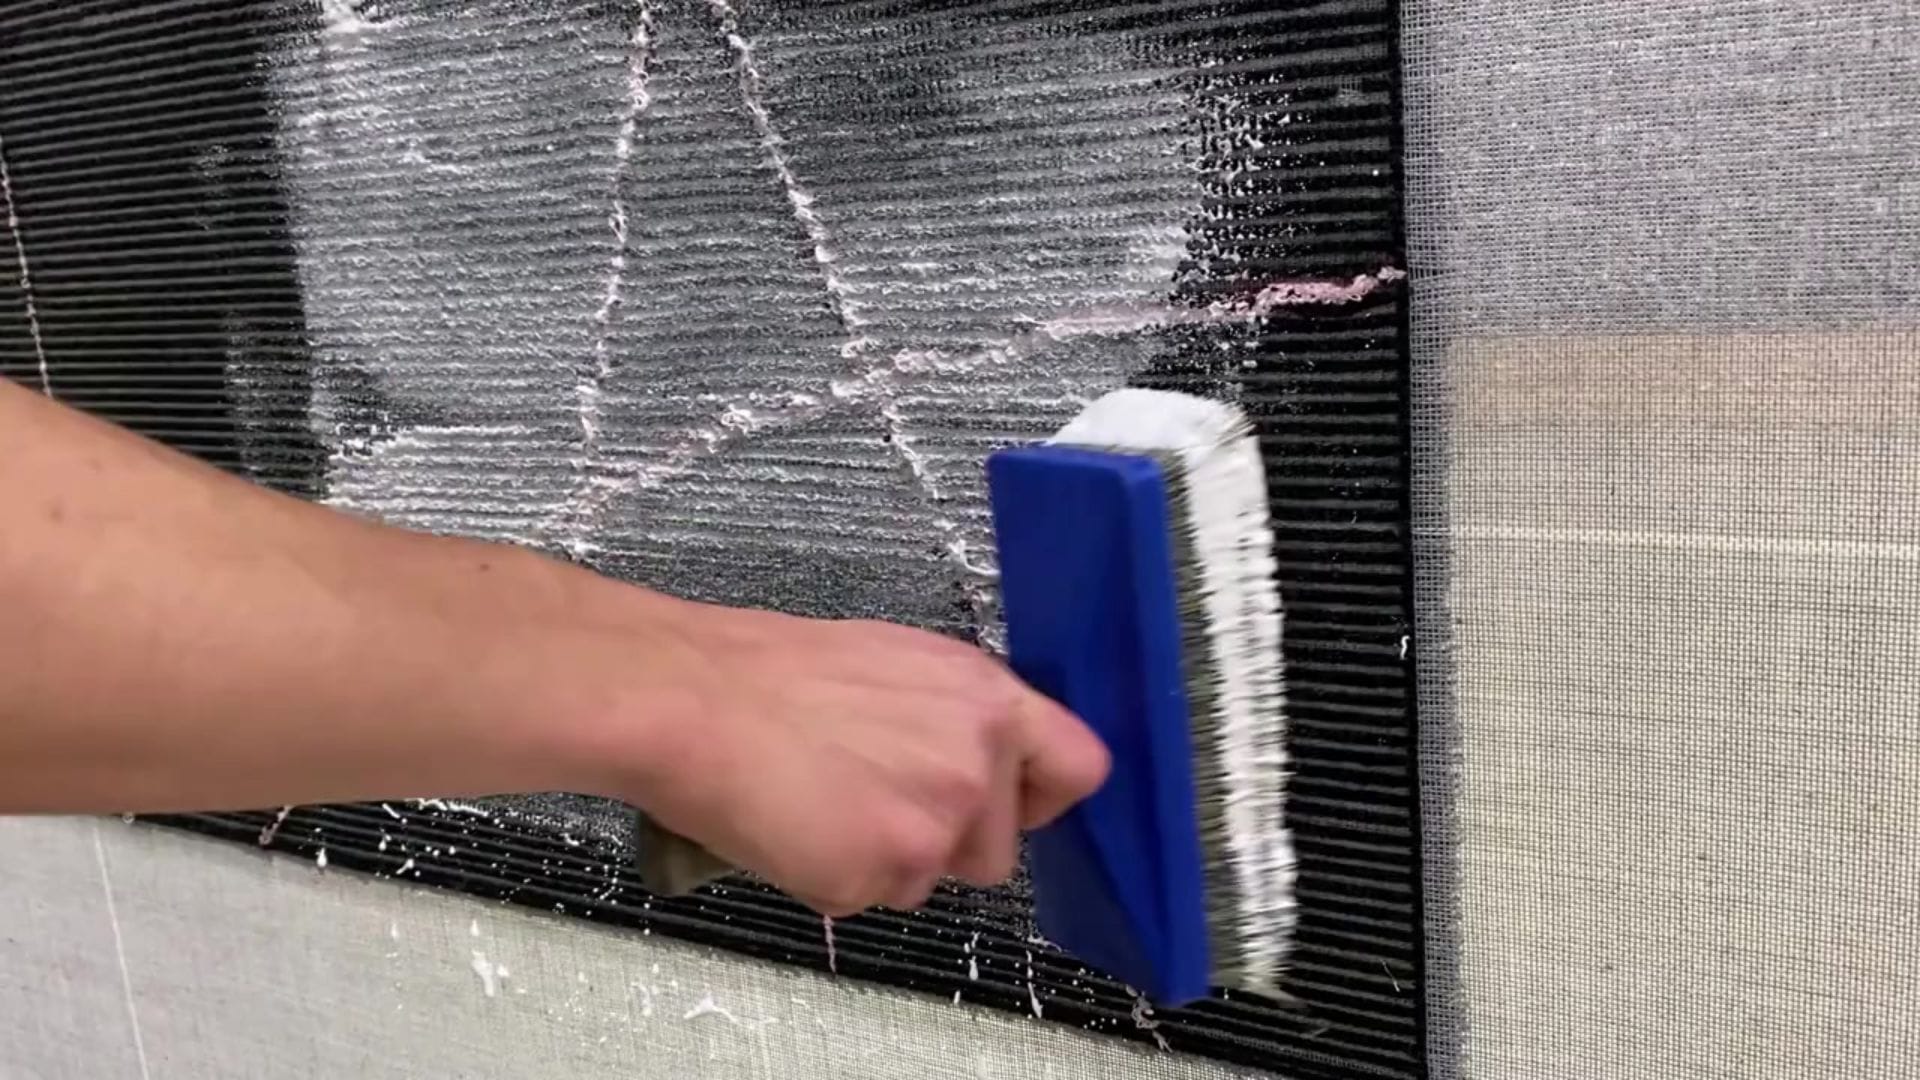
Wondering how to back a tufted rug once you finish tufting? The essential steps are to inspect the back, secure the yarn with an appropriate rug adhesive, add secondary backing suited to the project's use, finish the raw edges, and carefully trim the front. The right order and materials matter more than fancy equipment.
This beginner-friendly guide focuses on handmade tufted rugs. A wall hanging or cushion may need a different finish, and a floor rug needs particular attention to durability and slip resistance.
Quick answer: Keep your tufted piece supported on its frame while securing the yarn, follow your adhesive's instructions for application and curing, choose the backing for its intended use, and finish the exposed cloth edges before using the rug.
What You Need to Back and Finish a Tufted Rug
- An adhesive explicitly suitable for your yarn, primary cloth, and intended project
- A spreading tool such as a putty knife, spatula, brush, or roller as specified by the adhesive maker
- Suitable secondary backing: woven rug backing, felt, or a purpose-made non-slip backing
- Sharp fabric scissors and optional trimming shears or rug clippers
- Optional twill tape or fabric binding for the perimeter
- Gloves, protective work surface, ventilation, and any other precautions specified on product labels
For a fuller comparison of adhesives and their purposes, see the best glue for rug tufting guide. For the difference between the fabric you tuft into and the fabric you attach at the end, read primary tufting cloth vs monk's cloth.
Step 1: Inspect the Rug While It Is Still on the Frame
Before gluing, turn to the reverse of your work. Check for gaps, loose yarn tails, damaged primary cloth, and areas with uneven tufting. Correct what you can now; changing a tufted line gets much harder once the yarn is locked down with adhesive.
Remove loose debris and protect the surrounding workspace. Follow your tufting gun and adhesive manufacturers' instructions when preparing to finish the piece.
Step 2: Secure the Yarn with the Right Adhesive
For a floor rug, prioritize a flexible adhesive intended for rug or tufted-textile backing, and verify that the product is suitable for your yarn and primary cloth. The first adhesive's job is to lock the yarn into the primary backing; it is not automatically the same product you should use to attach a secondary cloth.
Spread the adhesive across the back using the coverage and thickness specified by its manufacturer. Do not assume every carpet-installation adhesive is suitable for handmade tufting. In particular, ROBERTS 3095 is a carpet-installation adhesive, so its carpet-installation specification alone does not establish suitability for coating a handmade tufted rug.
Important: Never guess drying or curing time, dilute a product unless its instructions allow it, or use hot glue as a substitute for securing the entire tufted surface. Work in the ventilation and protective conditions required by the product.
Compare adhesives and finishing applications →
Step 3: Choose the Best Backing for Your Rug
Secondary backing is the layer attached to the underside of a finished tufted piece. It can cover the adhesive, protect the reverse, improve appearance, and—if designed for that purpose—help with grip on the floor.
| Backing option | Best use | What to check |
|---|---|---|
| Woven rug backing / Final Bac–style cloth | Finished floor rugs and decorative pieces | Durability, adhesive compatibility, and whether an additional rug pad is needed |
| Felt backing | Decorative rugs and wall pieces | Thickness, flexibility, and slip resistance on the intended floor |
| Purpose-made non-slip backing | Floor rugs where grip matters | Manufacturer's flooring compatibility and whether the rug still needs a separate non-slip pad |
| Open-weave mesh / Action Bac–style backing | Projects using a compatible adhesive method | Adhesive application method; spray adhesives may pass through open-weave material |
Don't confuse primary tufting cloth with secondary backing. Primary cloth must support the tufting gun and yarn while you work. The finished rug's underside is a separate decision.
Felt alone is not necessarily non-slip. For floor rugs, evaluate the backing against the surface where the rug will sit and consider a suitable rug pad if movement is possible.
Browse tufting equipment and finishing supplies on Amazon →
Affiliate disclosure: As an Amazon Associate I earn from qualifying purchases. Products and availability may change; check specifications before ordering.
Step 4: Attach the Secondary Backing
The exact order depends on your backing and adhesive system. Some purpose-made tufting adhesives bond backing while the adhesive is wet; other methods first let the primary layer cure and then attach backing with a separate compatible adhesive. Follow the chosen product's instructions instead of mixing methods.
- Confirm the primary adhesive is at the stage required by its manufacturer.
- Cut the secondary backing to fit your rug, accounting for the edge-finishing method.
- Apply the approved adhesive or bonding method evenly, keeping the cloth smooth.
- Press or secure it as instructed, then allow the complete drying or curing period before handling heavily.
For open-weave backing, check whether the primary adhesive is the better attachment method. Spraying adhesive directly onto open mesh can waste product and create overspray.
Step 5: Fold and Finish the Rug Edges
Raw primary cloth can fray, so don't leave loose margins unprotected. Once the yarn is secured according to your adhesive instructions, remove the piece from the frame if appropriate and leave enough cloth margin to fold neatly over the back.
Fold and secure the margin using a compatible edge adhesive or finishing method. For a more polished perimeter, apply twill tape or suitable fabric binding over the raw edge. On curved shapes, carefully ease the fabric into the curve to prevent bunching; avoid cutting into the tufted area.
For a floor rug intended for heavy use, professional serging or binding can be worth considering. Always check adhesive compatibility before using hot glue on edges, and handle hot tools cautiously.
Step 6: Trim and Shape the Front
Once the backing and adhesives have cured as directed, inspect the face of the rug. Use scissors or a suitable rug trimmer to level long tufts and tidy color boundaries. Work slowly: over-trimming is difficult to reverse.
For detailed carving, start with the least aggressive passes and check the design frequently. Remove loose fibers and inspect the edges and back before displaying or using the rug.
Common Backing and Finishing Mistakes
- Taking the piece off the frame too early: Tufts may shift before they're secured.
- Using the wrong glue: A carpet-installation label does not guarantee suitability for handmade tufted rugs.
- Skipping cure time: The rug may feel dry on top while the bond has not fully cured.
- Assuming all felt is non-slip: Test rug movement on the actual floor.
- Using spray adhesive on open-weave mesh: The spray may pass straight through.
- Leaving raw edges exposed: Fraying can spoil the finish.
- Trimming too deeply: Aggressive carving can expose the cloth or damage the design.
Frequently Asked Questions
Do you have to add backing to a tufted rug?
For floor rugs, secondary backing is generally recommended to protect the underside and improve the finish. Wall hangings and other decorative projects may not need the same construction.
Is felt backing non-slip?
Not automatically. Felt can produce a neat finish but may slide on hard floors. Check the material's grip and consider a compatible non-slip rug pad when needed.
Can I use hot glue to back the whole rug?
Hot glue may be appropriate for some edge details or small fixes, but it should not replace an adhesive chosen to secure the full tufted yarn surface.
How long should rug glue dry?
Follow the exact adhesive manufacturer's instructions for the application thickness, room conditions, and whether it needs to dry or fully cure before backing or use. There is no single safe time for every product.
What's the difference between tufting cloth and backing cloth?
Primary tufting cloth supports the yarn while you tuft. Secondary backing finishes the reverse after the tufts have been secured. See the fabric comparison guide.
Finish Your Next Rug with Confidence
Choose the finishing method based on how the rug will actually be used. For a floor rug, prioritize compatible adhesives, sound backing, secure edges, and slip resistance; for a decorative wall piece, your finishing choices can be simpler.
Keep learning with the rug glue guide, tufting frame recommendations, and free beginner tufting patterns.
More Tufting Inspiration
If you would like a visual reference for building your skills, Tuft the World: An Illustrated Manual to Tufting Gorgeous Rugs, Decor, and More by Tiernan Alexander and Tim Eads covers tufting materials, techniques, workspace setup, and creative projects from start to finish. It is a broader tufting book rather than a dedicated guide to rug edge binding.
Explore the Tuft the World book on Amazon →
As an Amazon Associate I earn from qualifying purchases. Check the Amazon listing for current formats, price, and availability.