If you are looking for rug tufting patterns Free for beginners, this guide includes three simple designs that help you practice essential tufting gun techniques while creating modern home decor.
Each project includes:
- printable rug tufting pattern templates
- exact yarn calculations
- beginner friendly instructions
- frame sizing guidance
These free rug tufting patterns PDF designs are scaled for common beginner frames and are ideal if you are learning how to tuft your first rug.
If you prefer to work from printed templates in your studio, you can also download the free printable pattern kit below.
Rug tufting patterns free are printable or traceable templates used to guide the tufting gun while creating consistent rug designs.
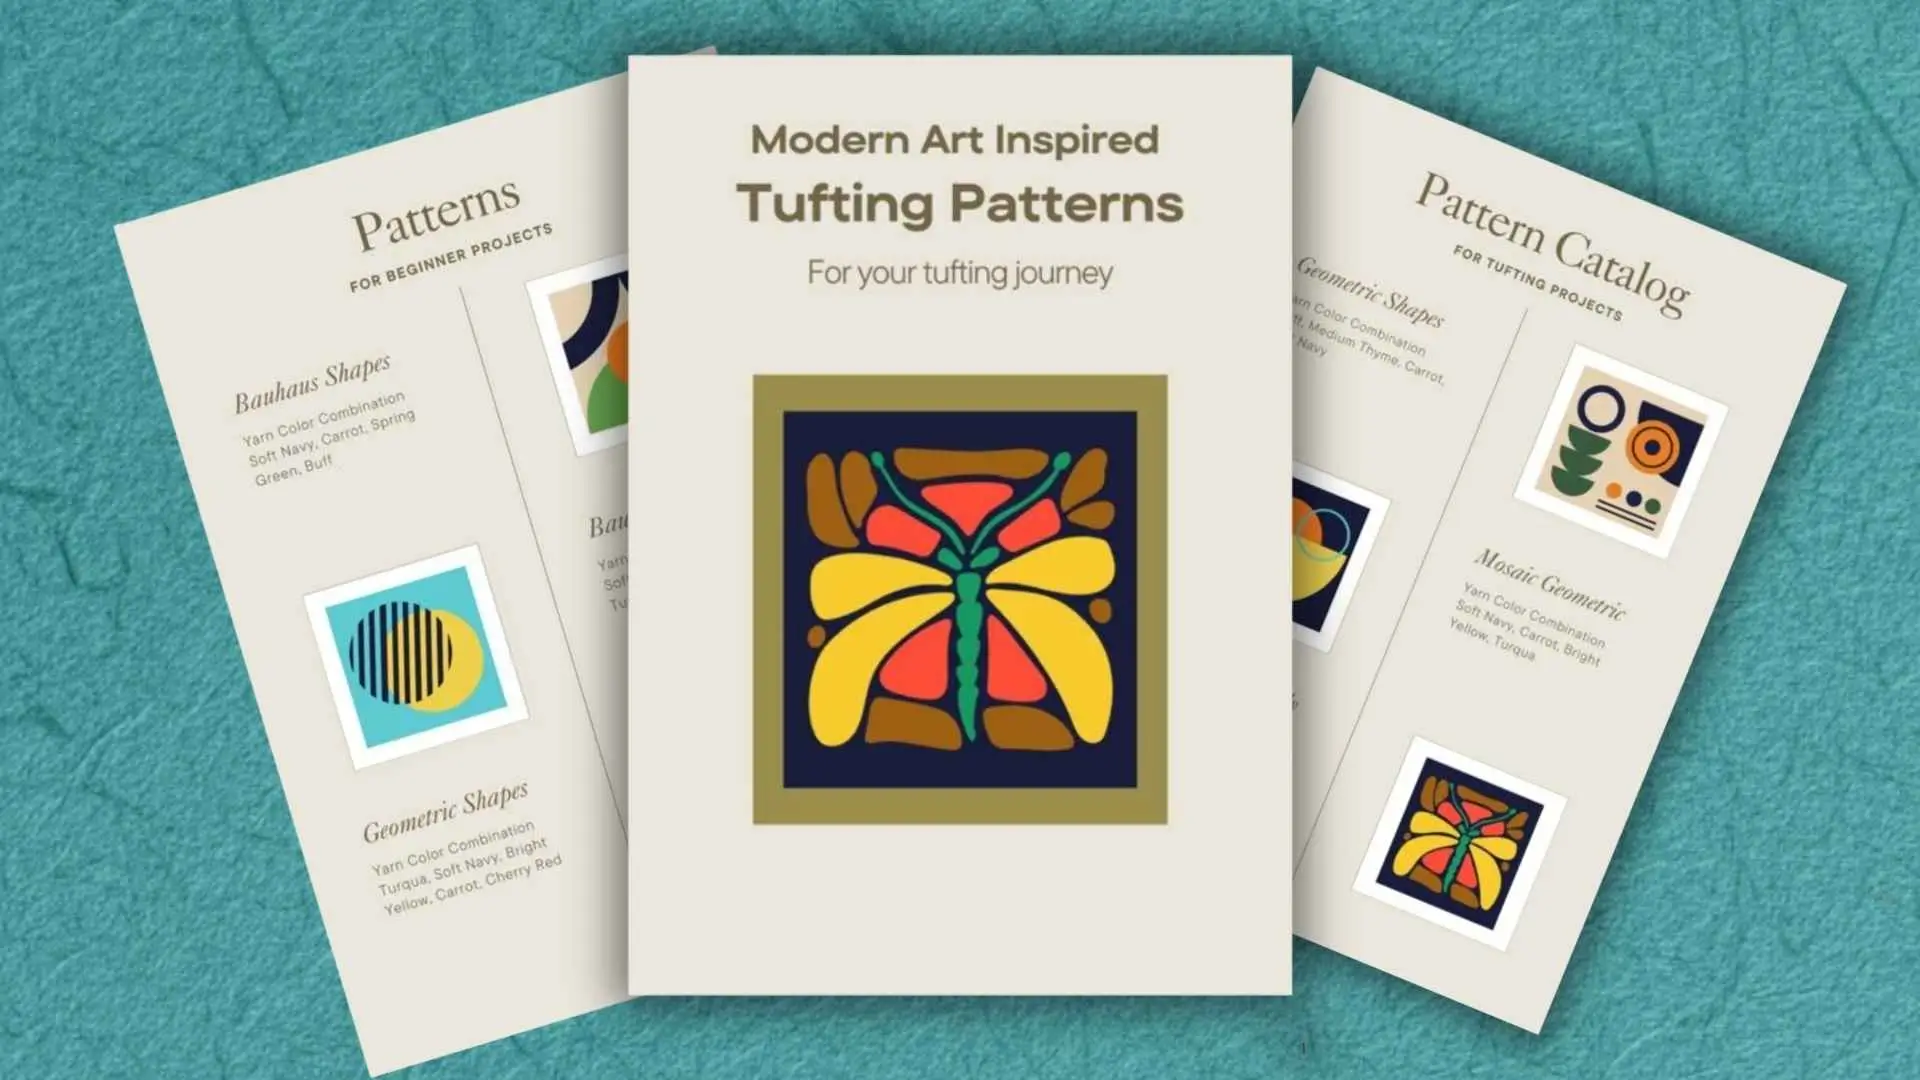
Get the Free Rug Tufting Patterns PDF
Printable Templates + Materials Guide
Prefer working from printed templates while tufting?
Download the free RugCraftingHub pattern kit which includes printable pattern templates, yarn calculation charts, and a beginner materials checklist so you can take the designs directly to your frame.
Inside the free download:
- 3 printable rug tufting pattern templates
- yarn calculation charts for each design
- beginner materials checklist
- pattern scaling guide for 24×24 frames
- printable studio reference sheet
Choose Your Rug Tufting Pattern
These templates help beginners reduce material waste and create clean, professional looking rugs from the start.
Opens the download page where you can receive the free guide.
Before You Start These Rug Tufting Patterns
These rug tufting patterns free templates are beginner friendly, but they work best once you are comfortable with basic tufting movements.
Before starting your first rug, practice:
- straight lines
- smooth curves
- maintaining even yarn tension
If you are completely new to tufting, read the Beginner Rug Tufting Guide first to learn how to control your tufting gun and set up your frame correctly.
Once you feel comfortable with those fundamentals, these patterns are perfect for your first finished rug.
Recommended Tufting Starter Supplies
Tufting gun
Primary backing fabric
Carpet backing adhesive
Secondary backing fabric
Scissors
Yarn
Frame sized for project
Projector
Before starting your first rug, see the full Where to Buy Tufting Supplies Guide for recommended tools and materials.
Beginner Yarn Calculator
Below is the estimated yarn usage for each pattern. These calculations assume standard acrylic yarn and medium pile density.
| Pattern Design | Project Size | 7oz Balls | 1lb Skeins |
| Color Block Squares | 24″ x 24″ | 8-10 Balls | 5 Skeins |
| Concentric Circles | 30″ Diameter | 9-11 Balls | 4.5 Skeins |
| Geometric Star | 30″ x 30″ | 10-12 Balls | 5 Skeins |
Studio Tip
Always buy one extra ball of your background color. Running out of yarn when the rug is almost finished is one of the most common beginner mistakes.
Designing for Small Frames (24×24 Tufting Patterns)
Most beginner tufting kits use a 2 foot by 2 foot frame, which is why these patterns are scaled for 24×24 dimensions.
Smaller frames are ideal for beginners because they:
- reduce yarn costs
- allow faster project completion
- make pattern tracing easier
The following designs are simple enough for first projects while still producing professional looking rugs.
Pattern 1: Color Block Squares
Difficulty: Very Beginner
Size: 24″ x 24″ (2ft x 2ft = 4 sq ft)
Time estimate: 2-3 hours
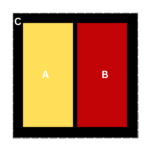
Design
This modern rug uses simple geometric sections.
- Outer border: Color C, about 2 inches wide
- Left section: Color A, about 10 inches
- Right section: Color B, about 10 inches
Materials
Using 7oz balls:
- Colour A: 3-4 balls
- Colour B: 3-4 balls
- Colour C: 2 balls (14oz / 400g)
- Total: 8-10 balls
- Estimated yarn cost: $40 to $70 depending on brand.
OR
Using 1lb skeins:
- Colour A: 1.5-2 skeins
- Colour B: 1.5-2 skeins
- Colour C: 1 skein
- Total: 5 skeins
- Estimated Cost: $48-75
Backing fabric: 40″ x 40″
Instructions
- Stretch backing fabric tightly on the frame
- Project or draw the pattern lines
- Mark border lines 2 inches from edges
- Draw a vertical line through the center
- border first
- left section
- right section
Clean the lines between sections before applying glue.
Pattern 2: Concentric Circles
Difficulty: Beginner
Size: 30″ diameter
Estimated Time: 3-4 hours

Design
Three concentric circles:
- Outer circle: 30″
- Middle circle: 20″
- Inner circle: 10″
Materials Specific to This Project
Using 7oz balls:
- Outer circle: 4-5 balls
- Middle circle: 3-4 balls
- Inner circle: 2 balls
- Total: 9-11 balls
- Estimated Yarn Cost: $45-77
OR
Using 1lb skeins:
- Color A: 2 skeins
- Color B: 1.5 skeins
- Colour C: 1 skein
- Total: 4.5 skeins
- Estimated Cost: $54-68
Backing fabric: 40″ × 40″ square
Instructions
- Stretch backing fabric on the frame
- Project or draw circles:
- Mark center point
- Draw 30″ outer circle
- Draw 20″ middle circle
- Draw a 10″ inner circle
- Tuft in this order:
- Inner circle
- Middle circle
- Outer circle
Trim carefully to maintain the circular shape.
Designer note
Circular rugs soften the straight lines of furniture and work well in living rooms, bedrooms, or nurseries.
Pattern 3: Geometric Star
Estimated Time: 5-6 hours
Difficulty: Advanced Beginner
Size: 30″ x 30″
")
Design
Central circle with six rays.
- 10 inch center circle
- six triangular star points
- background fill
Materials Specific to This Project
Using 7oz (200g) balls:
- Background: 5 to 6 balls
- Star rays: 5 to 6 balls
- Total: 10-12 balls of 7oz acrylic yarn
- Estimated Cost: $50-84
OR using 1lb (454g) skeins:
- Background: 2.5 skeins
- Star Points: 2.5 skeins
- Centre circle: 1 skein
- Total: 10 to 12 balls.
- Estimated Cost: $50 to $84.
Backing fabric
40″ by 40″.
Instructions
- Stretch fabric on frame
- Draw a 10 inch center circle
- Mark six evenly spaced star points
Tuft in this order
- background first
- star rays
- center circle
Take extra care shaping the points where triangles meet the circle.
Check the official yarn weight chart to pick the right size yarn for your rug.
How to Turn Any Image Into a Rug Tufting Pattern
Once you have mastered simple templates, you can convert almost any image into a tufting design.
The easiest method is to use a digital projector.
Steps
- choose high contrast clip art or line art
- project the image onto your backing fabric
- trace the outlines with marker
- simplify details for easier tufting
For a complete walkthrough of the hand tufted rug production process, the Kramis Tufting Masterclass provides 10 lessons demonstrating each stage.
Beginner Tufting Tips for Clean Results
- start with large areas first
- maintain consistent yarn tension
- check for gaps frequently
- trim sections before moving on
- keep the backing fabric tightly stretched
- clean your tufting gun regularly
These habits dramatically improve rug quality.
Common Tufting Problems
- Gaps in lines
- Uneven pile height
- Loose backing fabric
- Yarn breaking
- Increase yarn density or slow your tufting speed.
- Use consistent trimming and check pile depth.
- Re stretch fabric on the frame.
- Reduce yarn tension and check for snags.
Finishing Your Rug
After completing the design:
- apply carpet adhesive to the back
- allow glue to dry at least 24 hours
- attach secondary backing
- trim pile height evenly
- vacuum loose fibers
Photograph the finished rug in good lighting for your portfolio.
Frequently Asked Questions
Simple geometric designs such as color blocks or circles are the easiest patterns to start with because they focus on basic machine control and straight lines.
You can download printable versions of the three beginner patterns on this page by joining the free RugCraftingHub printable pattern kit.
Most beginners start with a 24 inch by 24 inch frame because it is affordable and easy to manage.
A typical 24×24 rug uses 8 to 10 balls of 7oz acrylic yarn, depending on pile density.