Effective tufting gun maintenance involves a daily routine of clearing yarn debris with a brush and a weekly schedule of oiling the rails and bearing joints with 3-IN-ONE oil. Keeping your machine clean and lubricated is the only way to prevent frictional heat, which leads to skipped stitches and permanent motor damage.
Why Regular Maintenance Matters: The tufting gun is a high-speed engine. Neglecting your tufting gun maintenance leads directly to friction, thread breakage, and costly mechanical malfunctions. By following this blueprint, you ensure your machine runs smoothly for years.
Part I: Your Daily Tufting Gun Cleaning Routine
The most important part of tufting gun maintenance happens before you ever touch the oil. Yarn creates “fiber dust” that acts like sandpaper inside your gears.
- Expert Tip: Never oil a dirty machine; the oil will mix with the lint to create a “sludge” that can jam the motor.
- The Brush Down: Use a 1-inch paintbrush to sweep away lint from the needle, foot, and scissors after every session.
- Compressed Air: For a deep clean, use a can of air to blow debris out of the internal gear housing.
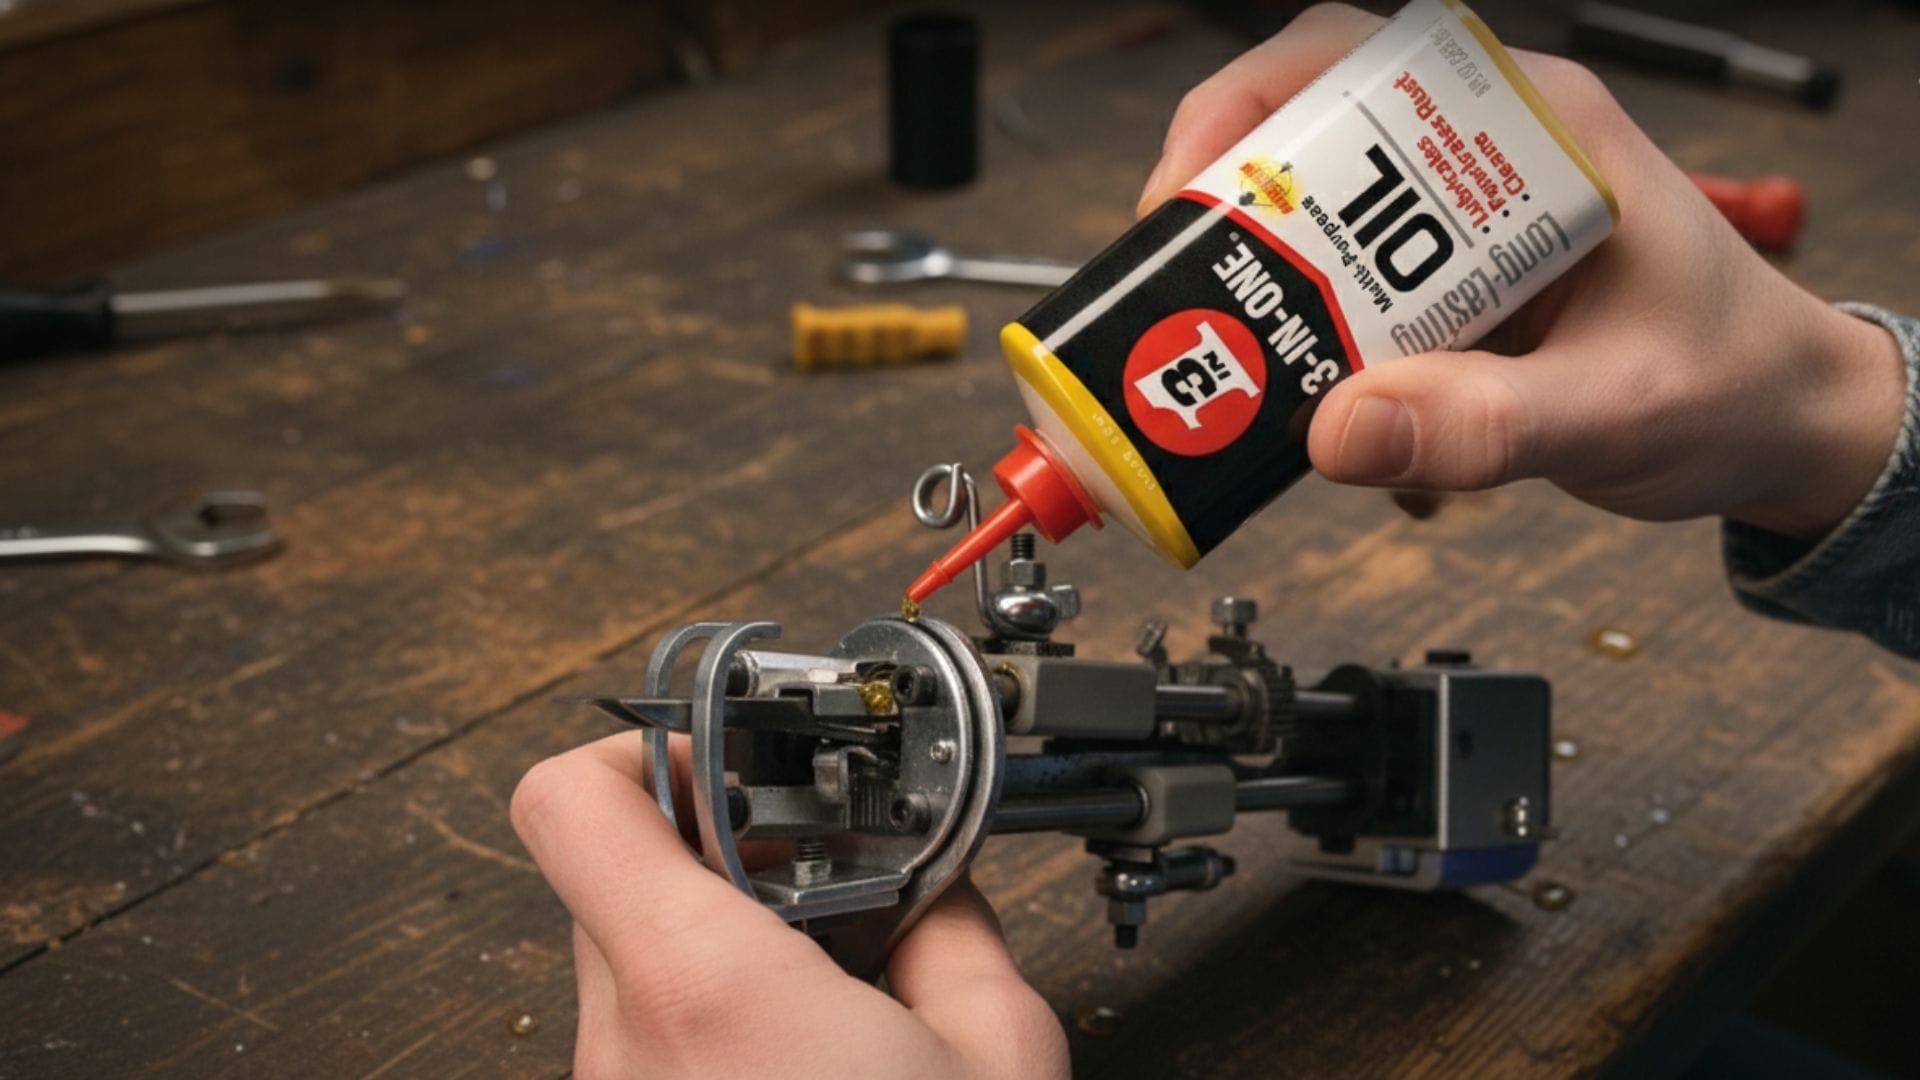
Part II: Tufting Gun Maintenance: Lubrication & Oiling
Proper tufting gun lubrication is the secret to a quiet, fast machine. If you keep the machine oiled, it will last indefinitely.
Best Oil for Tufting Gun Maintenance
Use a light, non-detergent oil.
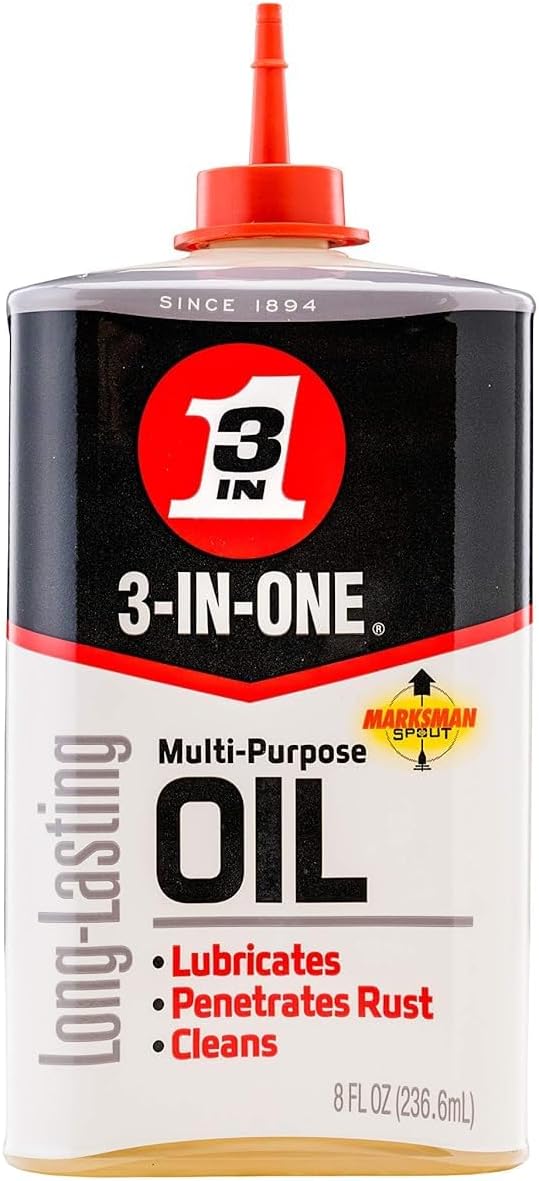
3-IN-ONE Multi-Purpose Oil
Lubricates, cleans and protects against rust and corrosion.
View on Amazon- Recommended: 3-IN-ONE Multi-Purpose Oil (the telescoping spout is perfect for reaching tight joints).
- Avoid: Never use WD-40 (it’s a solvent) or standard sewing machine oil (too thin for these high-speed gears).
The 7 Key Oiling Points
- The Rails: Apply a drop in front and behind the plastic sliders.
- The Bearing Joints: Oil the main circular joints on the side of the gun.
- Underneath Bearings: Don’t forget the joints hidden on the underside of the frame.
- Scissor Closing/Opening Blocks: Lubricate the metal triangles that trigger the cut.
- The Scissor Ball Joint: The tiny pivot point where the blades meet.
Part III: Troubleshooting Common Errors
Tufting Gun Needle Stuck Fix
If you are performing your tufting gun maintenance and find the needle is seized, it is usually a lubrication failure on the rails.
The Fix: Unplug the machine, manually rotate the white drive gear to clear the jam, and apply a fresh drop of oil to the guide rails.
Issue 1: Why is my thread breaking?
- Machine: Check for “burrs” or sharp edges on the needle eye.
- Yarn: Ensure your yarn is flowing from a cone (low resistance) rather than a ball (high resistance).
| Root Cause | Diagnostic Check | Solution |
| Friction/Blockage | Is the yarn snagging on the spool holder, yarn guide arm, or any part of the machine? | Check Threading Path: Ensure the yarn is flowing smoothly and consistently from the source (cones work better than balls due to less resistance). |
| Dirty Mechanism | Is lint or dust built up inside the gun mechanism, creating resistance? | Clean Immediately: Stop and thoroughly clean the tufting gun, especially the area around the needle and drive gears. |
| Yarn Tension Too High | Is the yarn being pulled too tightly before it enters the gun, creating back-tension? | Adjust Source: Ensure the cones are spinning freely and that the yarn guide system does not create unnecessary drag. |
Issue 2: Yarn Loops Won’t Stay in the Cloth (Skipping Stitches)
This often occurs when the needle is not feeding yarn correctly, leading to loose loops or gaps in the tufting.
- Cause: Low Operator Pressure: You must press the gun firmly against the backing cloth so the little metal feet are flush with the fabric.
- Cause: Low Fabric Tension: If the fabric is not tight like a drum, it deflects away from the gun, causing the needle to skip.
- Remedy: See Stretching Fabric on a Tufting Frame for the procedural fix.
- Cause: Internal Yarn Slack (Inconsistent Tension): The yarn is too loose inside the gun, leading to weak loops.
Solution: Adjusting Internal Yarn Tension
If you know your fabric tension is perfect, the issue is often internal yarn slack in the tufting gun.
- Locate Tension Plate: Most tufting guns have a flat tension plate held by a small exterior screw near the yarn entry point.
- Adjust Friction: Use a flat tool to gently nudge the tension plate forward or slightly tighten the screw. This increases the friction on the yarn feed, preventing the yarn from slackening and pulling out.
- Test: Be sure to firmly re-tighten the screw afterward and test the gun’s performance.
Issue 3: Inconsistent or Uneven Pile Height
This creates a patchy, messy rug surface when viewed from the front.
- Cause: Inconsistent Operator Pressure: You are rushing the process or failing to press the gun firmly and consistently against the fabric as you move.
- Cause: Incorrect Gun Settings: The cutting depth (pile height) setting may be inconsistent or incorrectly set.
Solution:
- Check Settings: Check your tufting gun’s adjustment knob to ensure the cutting depth is consistent and set correctly.
- Practice Technique: Practice tufting at a steady pace on scrap fabric to get a consistent feel for pressure and movement. Never stay in one spot too long.
Part IV: Advanced Diagnostics (Machine Errors and Tearing)
These issues relate to fundamental mechanical failures and require immediate action to prevent project damage.
Issue 4: The Gun is Making Holes in the Cloth (Tearing)
If the fabric is ripping, it means the machine’s cutter is hitting the fabric itself, not just the yarn.
- Cause: Fabric Bounce (Low Tension): If the fabric is too loose, it deflects away from the gun’s foot, lifting the fabric into the path of the reciprocating scissors/cutters, which then snip the cloth.
- Cause: Premature Removal: You are removing the gun before the mechanism has finished its cycle (you didn’t wait for the scissors to stop cutting).
- Cause: Forcing the Gun: You are forcing the machine instead of letting it “walk” at its set speed, which puts excess stress on a single point of the fabric.
Solution:
- Re-Tension Immediately: This is usually a fabric tension issue. See our Stretching Guide to fix the structural problem.
- Check Removal: Wait until the gun is completely stopped before pulling it out of the fabric.
Issue 5: The Scissors Aren’t Cutting Properly (Loop Pile Stays Loop)
This happens primarily with cut pile machines.
- Cause: Dull/Blocked Scissors: The internal cutting mechanism (scissors) is dull, or lint/dust is blocking its full range of motion.
Solution:
- Clean and Oil: Thoroughly clean and oil the entire cutting mechanism.
- Check Maintenance: If the problem persists, the cutting depth setting or the timing of the mechanism may require professional adjustment or maintenance.
Issue 6: Machine is Beeping or Won’t Move
When the machine stops, check the basics before assuming a major failure.
- Check Power: Ensure the power cord is securely plugged in and the machine’s switch is functioning.
- Check Jam: Check the threading path and the main gear mechanism for any severe yarn tangles that are physically impeding the movement.
- Overheating: If the gun has been running for an extended period, it may have overheated. Allow it to cool down before restarting.
Part V
FAQ: Tufting Gun Maintenance
How often should I oil my tufting gun?
What happens if I don’t clean my machine?
Can I use spray lubricants?
VI: The Essential Maintenance Toolkit
To keep your machine running like new, I recommend having these specific tools in your studio.
- 3-IN-ONE Multi-Purpose Oil with Telescoping Spout: This is the gold standard. The long spout reaches the internal bearing joints that standard bottles can’t touch.
- 1-Inch Professional Chip Brushes: Cheaper and more effective than microfiber cloths for removing yarn lint from gears.
- Compressed Air Duster (3-Pack): Essential for blowing out the “hidden” fiber dust inside the motor housing.
- Digital Caliper for Pile Height: If you are adjusting your scissors, this ensures your pile height stays consistent across the rug.
Part VII: Conclusion & Next Steps
Regular tufting gun maintenance is the most effective way to protect your investment and ensure your rugs have a professional, gallery-quality finish. Most mechanical errors are preventable with just a few drops of oil and a quick brush-down after every session.
If you have mastered the basics of machine care and are ready to take your rug-making to the next level, moving from hobbyist to professional creator, check out my deep-dive resources:
- Master the Craft: For a complete walkthrough on technique, advanced finishing, and troubleshooting, join the Tufting Mastery Class.
- Professional Finishing: Once your machine is running smoothly, learn how to give your rugs a professional edge with our Serger Course for Professional Finishing right here on RugCraftingHub.
- Essential Supplies: Visit my Tufting Gun Starter Kit Guide to see the exact setup I use in my studio.