
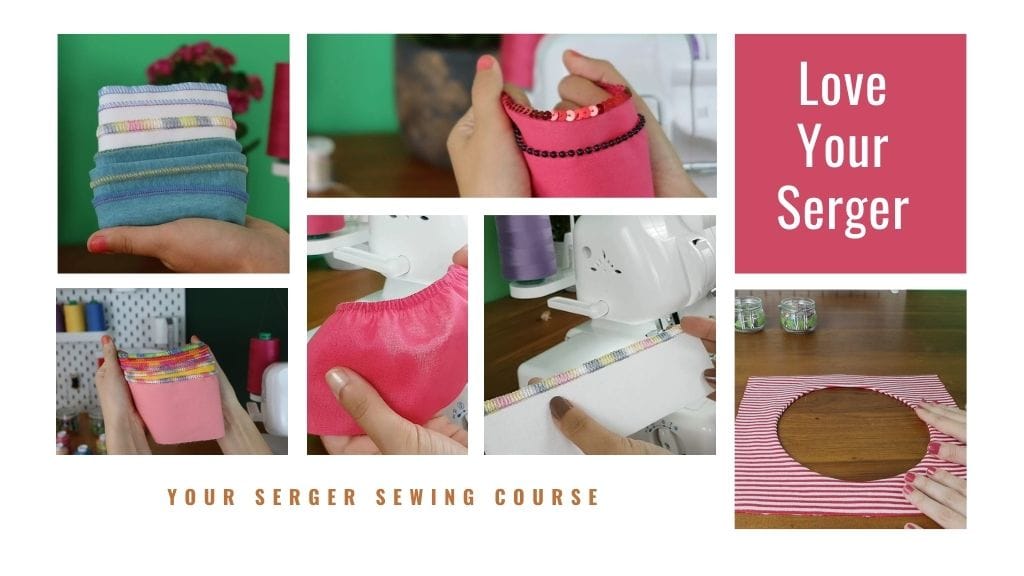
If you are looking for the best online serger course for beginners, the ‘Love Your Serger’ masterclass is the highest-rated training to help you stop feeling intimidated by your overlocker and start sewing with professional confidence.
Many crafters, whether you are into garment sewing, knitting, or even finishing the edges of a handmade rug, find the serger (or overlocker) to be the most intimidating machine in the studio. With four threads, complex loopers, and knife blades, it’s easy to feel overwhelmed. However, once you master it, a serger turns “homemade” projects into “professional” creations.

Why Every Beginner Struggles with the Serger
The problem isn’t the machine; it’s the lack of structured guidance. Most manuals are dry and technical, leaving you stuck with “birds-nest” thread tangles and uneven tension. This frustration often leads to “Serger Fear,” where a $600 machine sits in the closet gathering dust.
Whether you are dealing with broken needles or the fear of cutting your fabric accidentally, these pain points are universal for novice sewists. Learning through a structured video course allows you to see the exact finger placements and threading paths that a manual simply can’t show you.
The Science of a Perfect Stitch: How an Overlocker Works
Unlike a standard sewing machine that uses a bobbin and a top thread to create a lockstitch, a serger uses loopers to “knit” thread over the edge of the fabric.
This creates a flexible, durable seam that is essential for:
- Stretch Fabrics: The “overlock” stitch allows the seam to stretch without the thread snapping.
- Preventing Fraying: It encases the raw edge of the fabric in a protective thread “envelope.”
- Speed: A serger trims, stitches, and finishes a seam in one single pass, making it 3x faster than a traditional sewing machine.
The “Sewing Machine vs. Serger” Comparison Table
| Feature | Standard Sewing Machine | Serger (Overlocker) |
| Primary Use | Construction, topstitching, buttonholes, zippers. | Finishing raw edges, sewing knits, and trimming. |
| Stitch Type | Lockstitch (Two threads). | Overlock stitch (3, 4, or 5 threads). |
| Edge Finishing | Zig-zag stitch (can still fray). | Encased stitch with a blade that trims the edge. |
| Elasticity | Low stretch (threads may snap on knits). | High stretch (the stitch “moves” with the fabric). |
| Speed | Standard (approx. 700-1,000 spm). | High-speed (approx. 1,300-1,500 spm). |
| Best For… | Quilting, home decor, and precision sewing. | Apparel, activewear, and professional textile edges. |
Why ‘Love Your Serger’ is the Best Online Serger Course for Beginners
After reviewing various options, the Love Your Serger course by Creatory stands out as the #1 choice for beginners. With over 12,000 students and a 41% conversion rate, it is clearly the gold standard for visual learners.
| Feature | Details |
| Total Content | Nearly 5 hours of HD video training |
| Lessons | 41 step-by-step video tutorials |
| Learning Style | Unique “Joy-Based” concept (non-technical) |
| Accessibility | Lifetime access to the private members’ area |
What You’ll Master in This Course:
- How to thread a serger overlocker for beginners: No more guessing which looper goes first.
- Serger sewing techniques for finishing seams: Learn the “pro” look for sweaters, rugs, and apparel.
- Best serger stitches for stretch fabrics: Essential for modern knits and activewear.
Troubleshooting common overlocker problems
Fix tension issues and skipped stitches in seconds using the “floss” technique and the tension guide above. Most common issues like “bird’s-nest” tangles are caused by improper threading or using low-quality thread that creates excess lint.
Is This Course Right for You?
If you are tired of watching random YouTube clips that don’t explain the why behind the settings, this course is for you. It is specifically designed for:
- New Serger Owners: Who haven’t even taken the machine out of the box.
- Intermediate Sewists: Who only know one stitch and want to unlock the full potential of their machine.
- Professional Crafters: Who need high-quality edge finishing for items they intend to sell.
Practical Tips: Getting Started with Your Serger
- Use Quality Thread: Cheap thread creates lint, which is the #1 cause of serger “jams.”
- Change Your Needles: Serger sewing needles work harder than sewing machine needles. Change them every 2-3 big projects.
- The “Floss” Technique: When threading, make sure the thread is seated deeply into the tension discs by “flossing” it back and forth.
Free Serger Tension Cheat Sheet for Beginners
| Fabric Type | Needle Tension | Upper Looper | Lower Looper |
| Lightweight (Silk, Voile, Chiffon) | 3.0 – 4.0 | 3.0 | 3.0 – 4.0 |
| Medium (Cotton, Linen, Tufting Backing) | 4.0 | 4.0 | 4.0 |
| Heavyweight (Denim, Canvas, Rug Backing) | 4.0 – 5.0 | 5.0 | 5.0 |
| Knits/Stretch (Jersey, Spandex, Ribbing) | 3.0 – 4.0 | 4.0 – 5.0 | 3.0 – 4.0 |
The Serger for Rug Crafters: Professional Edge Finishing
If you are a member of our Rug Tufting community, you know that the “finishing touch” makes all the difference in the value of your art. While many beginners use a simple “fold and glue” method for rug backing, professional rug makers often use a serger or overlocker to finish the edges of the backing fabric before it is applied to the rug.
This prevents the backing from fraying over time and gives your handmade rugs the look of a high-end, luxury product like those seen in the Kramis Tufting Mastery Class. Mastering the serger allows you to expand into custom pillows, wall hangings, and textile art with a finish that lasts.
