The best glue for rug tufting beginners is a specialized carpet adhesive like Roberts 3095 or natural rubber liquid latex, as these options provide the flexibility and strong bond needed to lock yarn fibers in place permanently. While general craft glues can work for small wall hangings, a dedicated floor adhesive is non-negotiable for creating durable, professional-quality rugs that can withstand foot traffic.
The finishing process is where your rug achieves its permanent durability. The quality of your final piece relies entirely on treating the adhesive layer as a structural element that locks the yarn tufts permanently. Below is the master protocol for gluing and finishing your tufted pieces.
Before you pop the lid on any adhesive, make sure you have the necessary safety gear and spreaders ready. You can find our full checklist of vetted finishing supplies in our Best Tufting Tools & Materials of 2025 guide.

Structural Foundation: Adhesives and Curing Protocols
Choosing the right adhesive is the most critical decision in the finishing process. The industry standard is liquid latex, used in approximately 95% of carpets worldwide, but your choice depends on your specific workspace and goals.
Critical Choice: Natural vs. Synthetic Latex
| Adhesive Type | Primary Benefit | Durability & Flexibility | Mandatory Safety Note |
| Natural Rubber Latex | Eco-friendly, easier to roll/transport. | High flexibility and long-lasting bond. | Lower VOCs; generally safer for home studios. |
| Synthetic Latex (SBR) | Strong, fast-setting bond. | High tensile strength. | High Risk: Contains VOCs/Formaldehyde. Must be used in a well-ventilated area. |
Pro Tip: The “Tacky” Advantage Some professionals prefer Roberts 3000 or 3095 because it remains slightly tacky even after curing. This tackiness grabs the yarn edges when you fold them over, acting like a “second pair of hands” during the binding process.
Industry Standard Check: Ensuring your finished rug adheres to quality and structural standards, such as those set by the Carpet and Rug Institute (CRI), begins with proper adhesion.
Application Protocol: Preventing Bleed-Through
The goal is full saturation of the yarn base without the glue seeping to the visible face of the rug (bleed-through).
- Prep the Perimeter (Anti-Bleed): Apply a barrier glue (like Elmer’s Glue-All) along the border of the tufted area before applying the main latex. This solidifies the fragile edges, preventing the thinner latex from wicking through to the face of the rug.
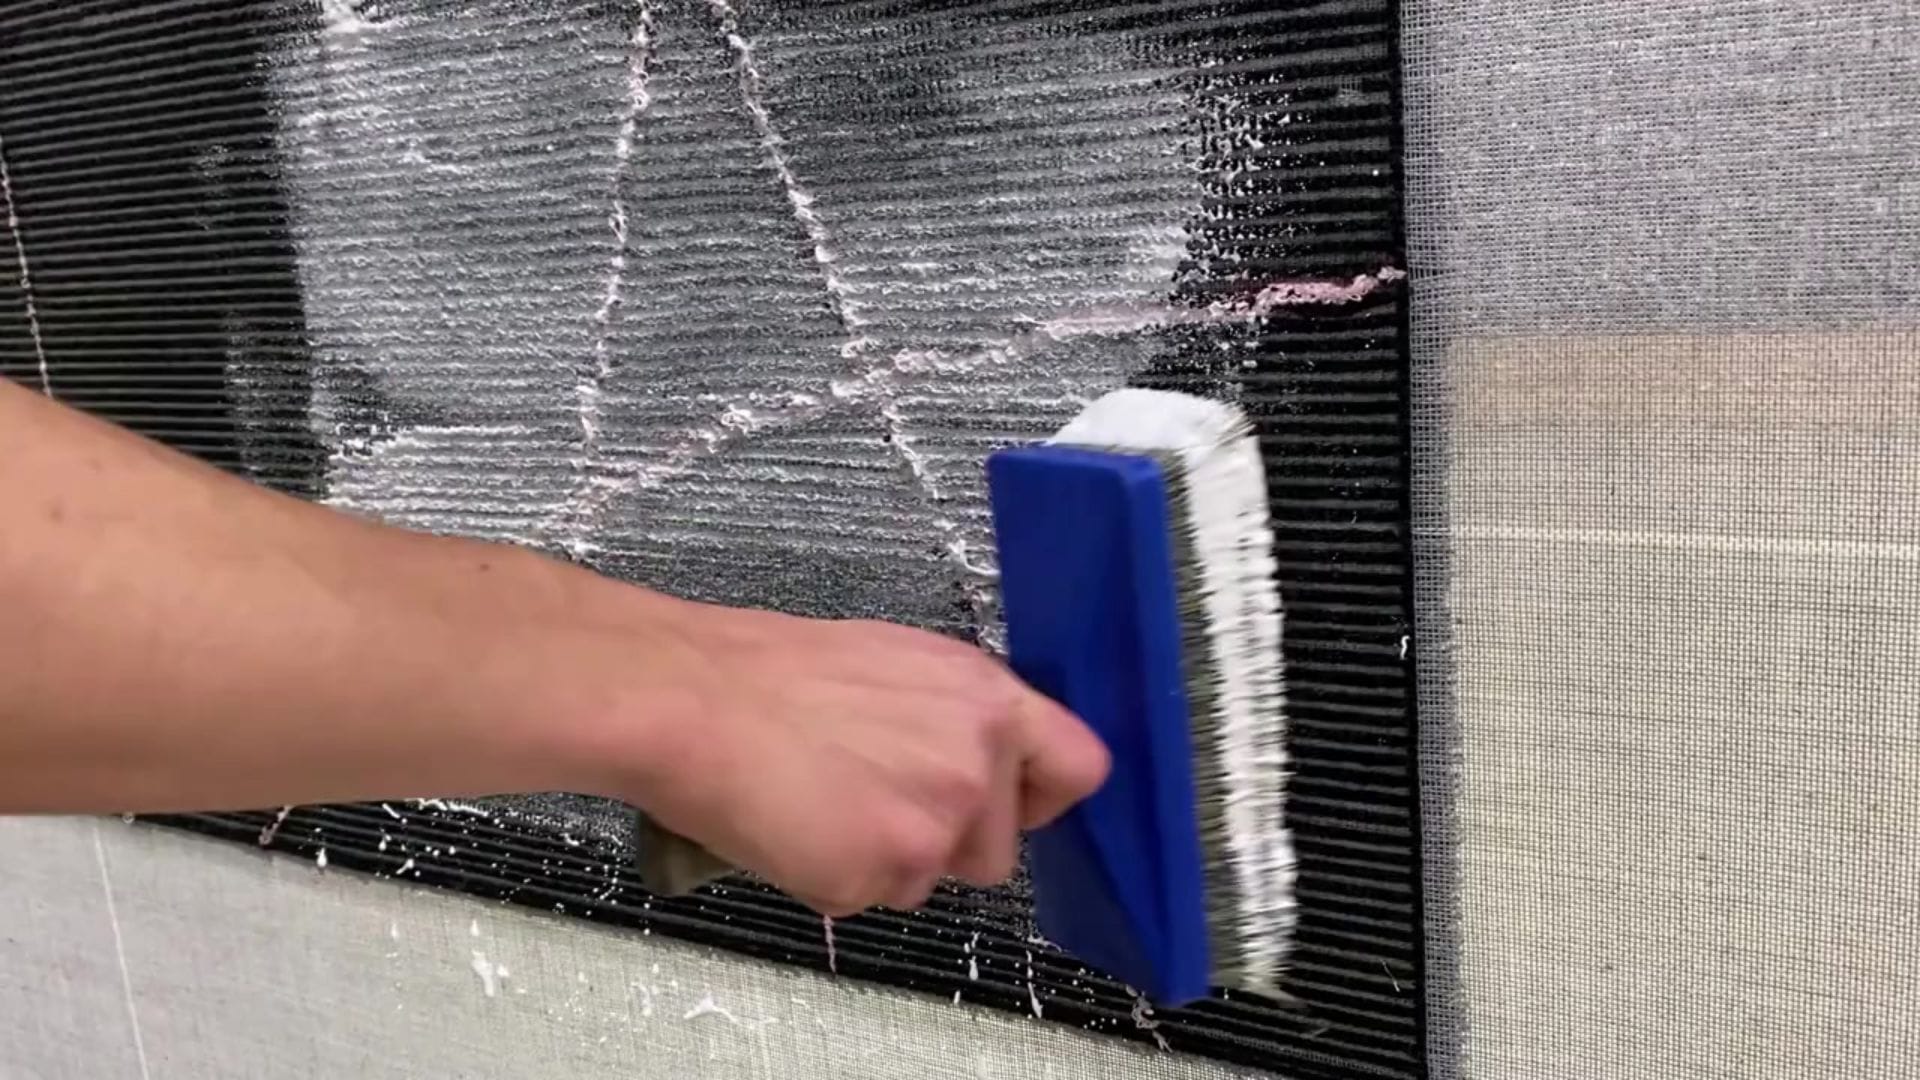
- Achieving Penetration: Use a palette knife or scraper to apply a full, consistent layer of latex, ensuring every tufted pocket is covered. Thinner, high-quality latex is often preferred because its runniness allows it to penetrate deeper into the fiber base, creating a stronger structural bond than a thicker, superficial layer. (If you don’t have a reliable spreader yet, check out the recommended ones on our Tools & Materials List)
- See this in action: In his full process guide, Rhody demonstrates using a spatula to spread Roberts 3000 glue evenly, ensuring no “globs” remain. Watch the gluing chapter here (starts at 24:52).
- Troubleshooting Pull-Out: If yarn pulls out during gluing, it is a tufting technique issue (stitches too loose or uneven), not a glue issue. The fix is tighter, more uniform tufting lines.
Curing Protocol: The Mandatory Wait
The structural integrity of the rug depends on the glue hardening while the material is held taut.
- Mandatory Curing Time: The minimum recommended time for structural stabilization is 48 to 72 hours while the rug is still stretched tightly on the tufting frame. Removing it early risks permanent curling or warping.
- Dimensional Stability: The tension of the frame maintains the rug’s flat, intended shape while the adhesive sets its “structural memory.”
Backing and Edge Refinement
After the adhesive is fully cured, the rug is cut down from the frame, and the final backing and edges are applied. This is where a project transforms from a piece of fabric into a professional product.
1. Secondary Backing Selection
The secondary backing protects the tufts and dictates the rug’s functionality (grip, softness, stability). If you aren’t sure where to source professional-grade non-slip backing, check the “Finishing & Backing” section of our Best Tufting Tools & Materials List.
| Material | Primary Benefit | Ideal Application |
| Polyester Felt | Cushioning and Water Resistance | Functional Floor Rugs |
| Jute | Excellent Strength and Stability | High-Traffic Area Rugs |
| Action Bac/ Rubber | Anti-Slip Grip | Slippery Floors (Prevents sliding) |
| Cotton/Canvas | Lightweight and Breathable | Wall Hangings or Decorative Pieces |
2. Mastering the Waterfall Edge
The Waterfall Edge is the standard professional technique for securing the perimeter and creating a smooth, durable curve.
- Fine Tuning: Before gluing, trim loose threads, tidy lines, and check for gaps to ensure a crisp, clean final rug.
- Cut Flaps: Once the glue is set, cut the excess primary backing around the perimeter into small, perpendicular flaps or strips (especially crucial around tight curves).
- Fold and Secure: Fold these flaps over and tuck them into the back of the rug.
Pro Tip: The Hybrid Adhesive Method
Don’t rely on just one type of glue for backing. Expert tufters like Rhody recommend a “Hybrid Method” for maximum durability and finish:
- Edges Hot Glue: Use Hot Glue to secure the folded edge flaps. Its fast-setting time locks the tension immediately.
- Center Spray Adhesive: Use a Spray Adhesive like 3m Super 77 Spray Adhesive, to attach the final secondary backing cloth. This ensures the back of the rug stays perfectly flat and smooth, avoiding the hard lumps that hot glue can create in the center of the rug.
Take Your Skills to the Next Level: If you are serious about mastering these finishing techniques, I highly recommend the Tufting Mastery Class by Kramis.
This 90-minute video course covers professional rug making from start to finish, including the “Lesson 6 through 9” protocols for perfect edges, backing, and their signature KRAMIS-Tape finish.
Kramis is a Swiss luxury rug manufacturer with over 40 years of experience (working with brands like Rolex!), and this course is the best investment for moving from hobbyist to pro.
3. Advanced Sculpting for Irregular Rugs
Sculpting freeform shapes requires precision in both tufting and finishing.
- Maximize Density: The borders of your design must be densely packed full of yarn while tufting. This is crucial for structural integrity when the final shape is cut out.
- The Bevel Edge: Achieve 3D definition by aggressively shaving down the yarn along the perimeter of a color block (beveling).
The Golden Rule of Shearing:
Never use carving shears freehand on the flat surface of your rug. Rhody warns that he ruined two rugs early in his career by digging too deep without a stabilizer. Always use a Shearing Guide, a clear acrylic or wood plate attached to the clippers, that keeps the blade level with the rug surface.
Troubleshooting and Maintenance
Troubleshooting Glue Failures
If dried adhesive breaches the front of the rug, attempt removal using softening agents:
- Heat Method: Apply an iron over a cloth barrier to soften the residue, then scrape.
- Solvent Method: Apply mild solvents like vinegar or acetone (nail polish remover) to soften the glue, followed by scrubbing with soap and water.
Post-Cure Stabilization: Preventing Curling
External factors can cause finished rugs to curl or lift from the floor.
- Hard Floors: Use specialized adhesive-based rug tape or peel-and-stick vinyl tiles applied to the underside of the corners for added weight and flatness.
- Carpeted Floors: Use rug pad grippers (often hook-and-loop pads) that adhere the rug’s corners to the underlying carpet pad, utilizing the pad’s weight to prevent shifting.
Best Glue For Rug Tufting Beginners: FAQ’s
The best glue for most beginners is a high-quality latex-based carpet adhesive like Roberts 3000 or 3095. It provides the necessary flexibility so the rug doesn’t crack while remaining strong enough for floor use.
Curling is usually caused by removing the rug from the frame too early. You must allow the adhesive to cure for at least 48 to 72 hours while still under tension on the frame to “lock” its flat shape.
For the best results, use both. Use hot glue to secure the waterfall edges quickly, and a spray adhesive like 3M 77 for the center of the secondary backing to ensure it stays smooth and lump-free.
You can use Elmer’s Glue-All as a perimeter barrier to prevent thinner adhesives from bleeding through the fabric, but it is not strong or flexible enough to be used as the main structural adhesive for a rug.
Conclusion and Next Steps
The finishing phase is your ultimate quality control. Strict adherence to proper curing times and precise application of the adhesive system guarantees your rug will last.
Key Takeaways for Professional Results:
- Cure Completely: Do not remove the rug from the frame before the 48–72 hour cure window has passed.
- Structural Fine-Tuning: always trim loose threads before securing the glue.
- Monetization: If you plan to sell your high-quality, finished rugs on Etsy, tools like eRank are invaluable for researching keywords and improving your listing visibility.
Ready to upgrade your setup? From the best frames to the sharpest carving shears, we’ve curated a list of the highest-rated equipment to help you turn pro. View the Complete Rug Tufting Tools & Materials List.
For the full roadmap of the tufting journey, check out our Comprehensive Beginner’s Guide to Rug Tufting.